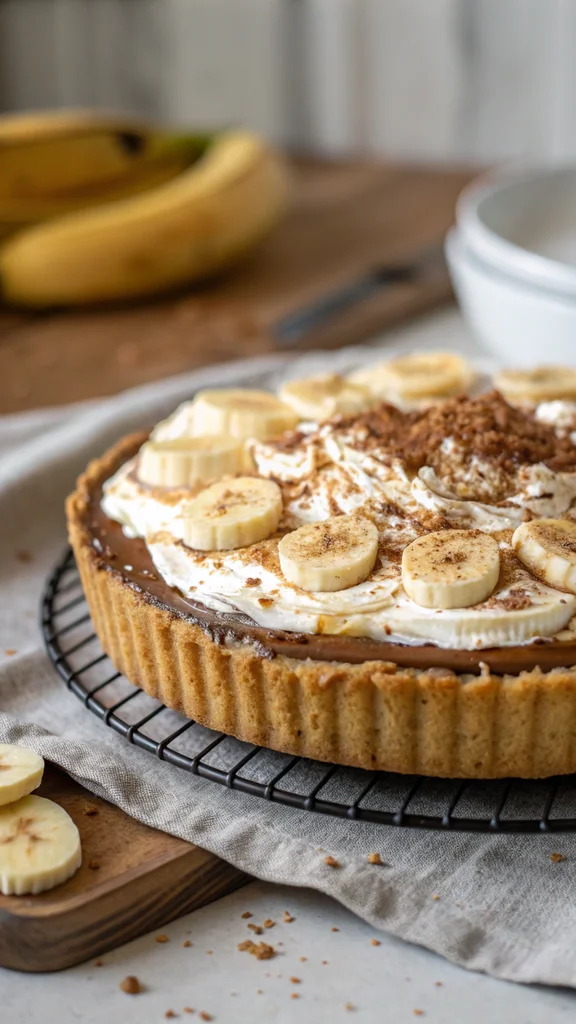
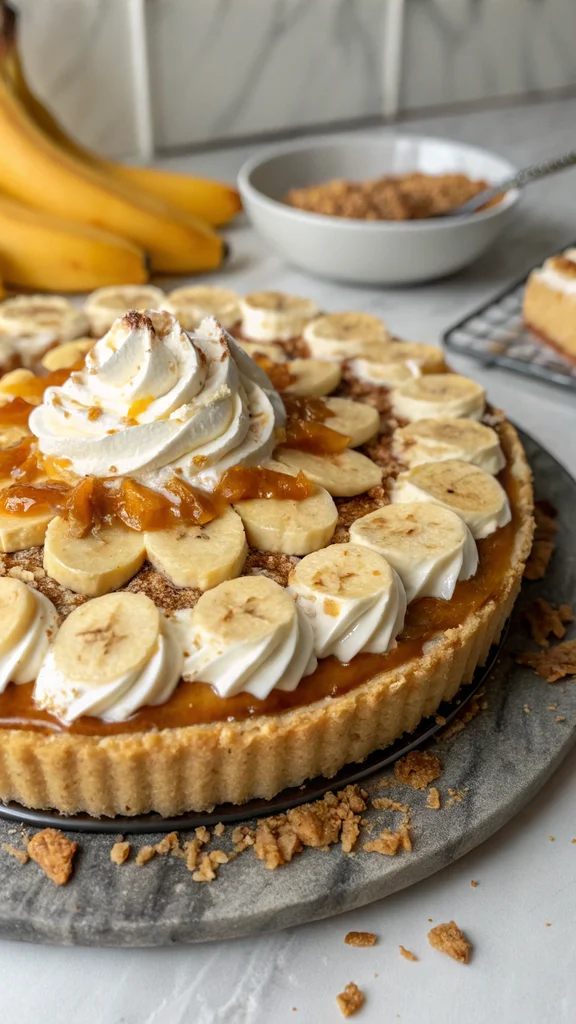
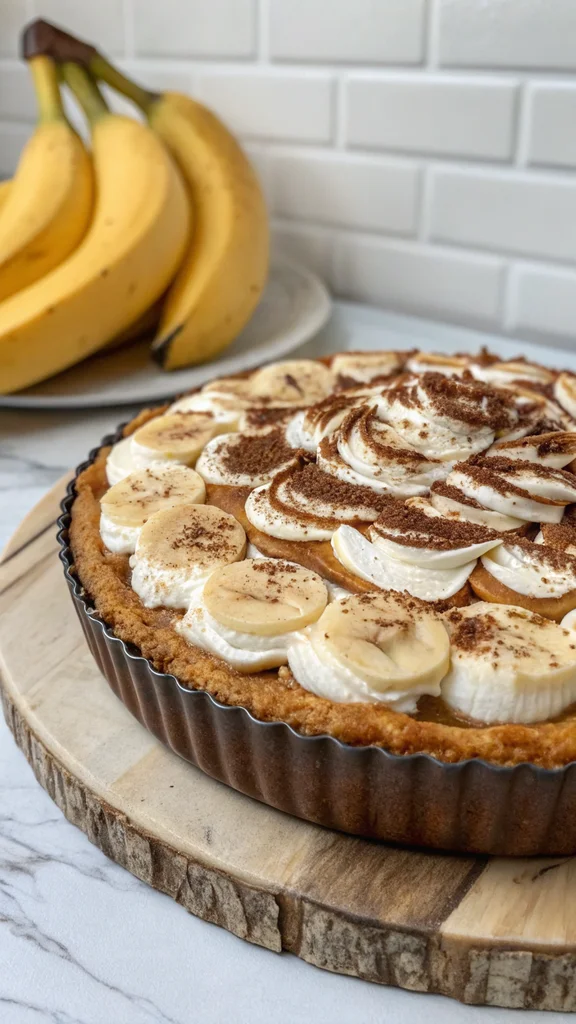
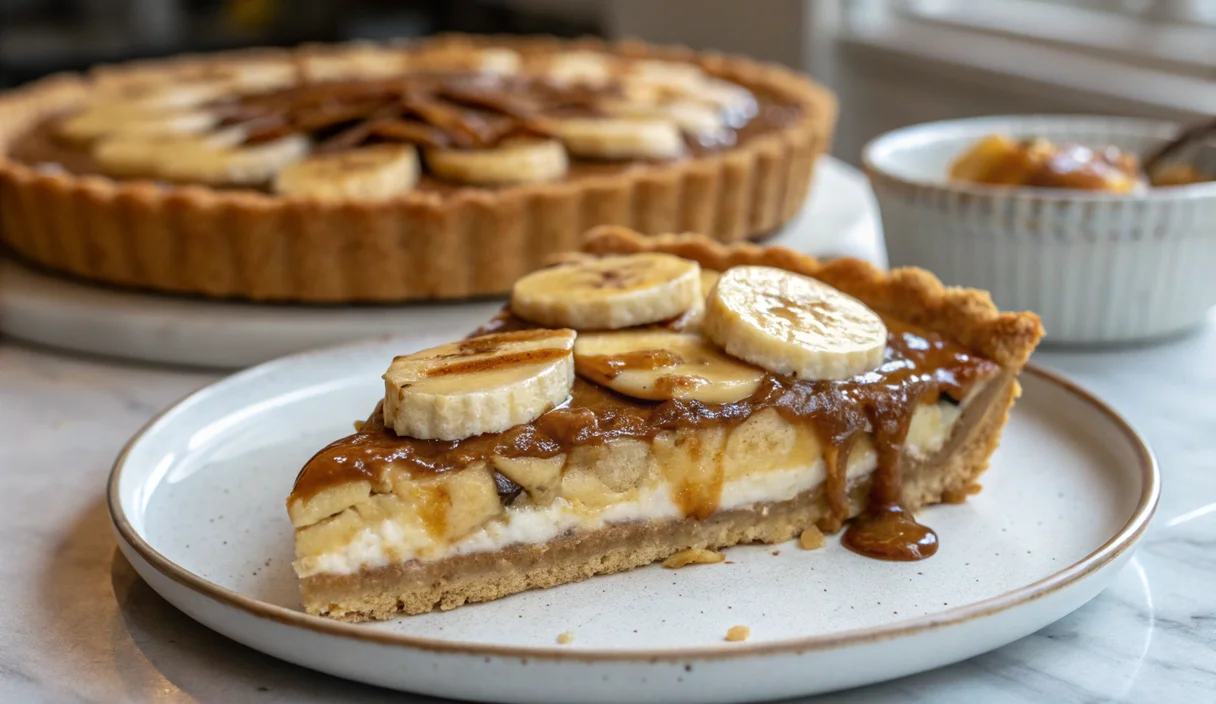
The Ultimate Homemade Banoffee Pie Recipe You Need to Try!
Hello, Taste Buds! Maddy here, and today I’m sharing a recipe that’s guaranteed to become a new family favorite: the absolutely irresistible Banoffee Pie. This decadent dessert is a symphony of flavors and textures – a buttery biscuit base, a layer of rich caramel, fresh banana slices, and a cloud of whipped cream. It’s a showstopper that’s surprisingly easy to make, even for beginner bakers. My love for this pie started on a cozy weekend in my grandmother’s kitchen. The aroma of toffee bubbling on the stove, the sweet scent of ripe bananas, and the gentle hum of her singing created a memory I cherish to this day. Now, I’m excited to share my take on this classic Banoffee Pie recipe with you, so you can create your own sweet memories.

Why This Recipe Works
- Simple Ingredients: You probably already have most of the ingredients for this Banoffee Pie in your pantry!
- No-Bake Crust: Say goodbye to complicated pie crusts! This recipe uses a simple, no-bake biscuit base.
- Easy Caramel: Making caramel can be intimidating, but this method is foolproof and yields a luscious, golden caramel.
- Crowd-Pleaser: Banoffee Pie is a guaranteed hit with everyone, from kids to adults.
- Versatile: You can customize this recipe with your favorite toppings and variations (more on that later!).
- Makes Ahead: This pie is perfect for entertaining because you can prepare it ahead of time.
Ingredients

- For the Crust:
- 300g digestive biscuits (or graham crackers)
- 150g unsalted butter, melted
- For the Caramel:
- 1 can (397g) sweetened condensed milk
- For the Filling:
- 3-4 ripe bananas, sliced
- 300ml heavy cream
- 2 tablespoons powdered sugar
- 1 teaspoon vanilla extract
- Chocolate shavings (optional, for garnish)
Step-by-Step Instructions
1. Preparing the Crust
First things first, let’s build the foundation of our Banoffee Pie. Crush the digestive biscuits into fine crumbs. You can do this in a food processor, or by placing them in a sealed bag and crushing them with a rolling pin. As you can see in the image, the finer the crumbs, the better the crust will hold together. Next, combine the crushed biscuits with the melted butter in a bowl. Mix well until all the crumbs are evenly coated.
2. Setting the Crust
Press the biscuit mixture firmly into the bottom of a 9-inch pie dish or springform pan. Ensure the base is even and compact. You might find a flat-bottomed glass or measuring cup helpful for this step. Check out the photo below to see how a well-packed crust should look. Once the crust is set, refrigerate it for at least 30 minutes to allow it to firm up.
3. Making the Caramel (Method 1: Stovetop)
Now, let’s talk caramel. This recipe offers two methods for making the caramel layer: the classic stovetop method and the even-easier slow cooker method. For the stovetop method, pour the entire can of sweetened condensed milk into a saucepan. Heat over medium-low heat, stirring constantly, until the milk thickens and turns a beautiful golden brown color. This process can take anywhere from 15-20 minutes. Be patient and keep stirring to prevent burning.
4. Making the Caramel (Method 2: Slow Cooker)
For the slow cooker method, pour the unopened can of sweetened condensed milk into your slow cooker. Fill the slow cooker with enough water to cover the can completely. Cook on low for 6-8 hours, or until the condensed milk has transformed into a rich, golden caramel. Once cooked, carefully remove the can from the slow cooker and allow it to cool completely before opening. This method is perfect for a hands-off approach and yields an incredibly smooth and flavorful caramel.
5. Layering the Bananas
Once the crust is chilled and the caramel is ready, it’s time to assemble our Banoffee Pie. Spread the cooled caramel evenly over the biscuit base. Next, arrange the sliced bananas over the caramel layer. As you can see in the image, a neat arrangement adds to the visual appeal of the finished pie. Overlapping the banana slices slightly is perfectly fine.
6. Whipping the Cream
In a chilled bowl, beat the heavy cream with powdered sugar and vanilla extract until stiff peaks form. Be careful not to overwhip. This whipped cream will be the crowning glory of our Banoffee Pie.
7. The Grand Finale: Assembling the Pie
Spread the whipped cream generously over the banana layer, creating a fluffy cloud of sweetness. You can get creative with the whipped cream, swirling it into peaks or creating a smooth, even layer. If desired, sprinkle chocolate shavings over the top for an extra touch of indulgence.
Maddy’s Tips for Success
- Chill the crust thoroughly: This will prevent it from crumbling when you add the other layers.
- Don’t overcook the caramel: Overcooked caramel can become hard and brittle.
- Use ripe but firm bananas: Overripe bananas can become mushy.
- Chill the pie before serving: This allows the flavors to meld and the pie to set properly.
- Get creative with toppings: Try adding chopped nuts, toffee bits, or a drizzle of chocolate sauce.
- Make the caramel ahead of time: This saves time and allows you to focus on assembling the pie when you’re ready.
- Don’t be afraid to experiment: Banoffee Pie is a forgiving dessert. Feel free to adapt the recipe to your liking.
Recipe Variations

- Chocolate Banoffee Pie: Add a layer of melted chocolate between the caramel and bananas.
- Coffee Banoffee Pie: Mix a teaspoon of instant coffee granules into the whipped cream.
- Salted Caramel Banoffee Pie: Sprinkle a pinch of sea salt over the caramel layer.
Serving Suggestions
- Serve chilled slices of Banoffee Pie with a scoop of vanilla ice cream.
- Pair it with a steaming cup of coffee or tea for a delightful afternoon treat.
- Enjoy a slice as a simple yet elegant dessert after dinner.
Join the Conversation
I’d love to hear from you! Share your Banoffee Pie creations with me on social media using #TasteBudsApproved. Let me know what variations you try and how your pie turns out. Baking is all about sharing the joy, and I can’t wait to see your delicious masterpieces!
Conclusion
So there you have it, my ultimate Banoffee Pie recipe. It’s a truly special dessert that’s perfect for any occasion. With its simple steps and incredible flavor, this pie is sure to become a staple in your baking repertoire. Happy baking, Taste Buds!
Frequently Asked Questions
- How long can I store Banoffee Pie? Store leftover Banoffee Pie in the refrigerator for up to 3 days.
- Can I freeze Banoffee Pie? While you can freeze the crust and caramel separately, it’s not recommended to freeze the assembled pie as the bananas can become mushy upon thawing.
- Can I use a different type of biscuit for the crust? Yes, you can use graham crackers, shortbread cookies, or even Oreo cookies.
- What if my caramel is too thick? You can thin it out by adding a tablespoon of hot water or milk and stirring until smooth.
- Can I make this pie without whipped cream? While whipped cream is a classic component of Banoffee Pie, you can substitute it with a dollop of Greek yogurt or even a scoop of ice cream.
- My bananas turned brown. What happened? This is perfectly normal. The bananas can oxidize when exposed to air. To prevent this, you can brush the sliced bananas with a little lemon juice.
- Can I use dulce de leche instead of making caramel from condensed milk? Absolutely! Dulce de leche is a great shortcut and offers a similar flavor profile. Simply spread it over the crust like you would the homemade caramel.

