Table of Contents
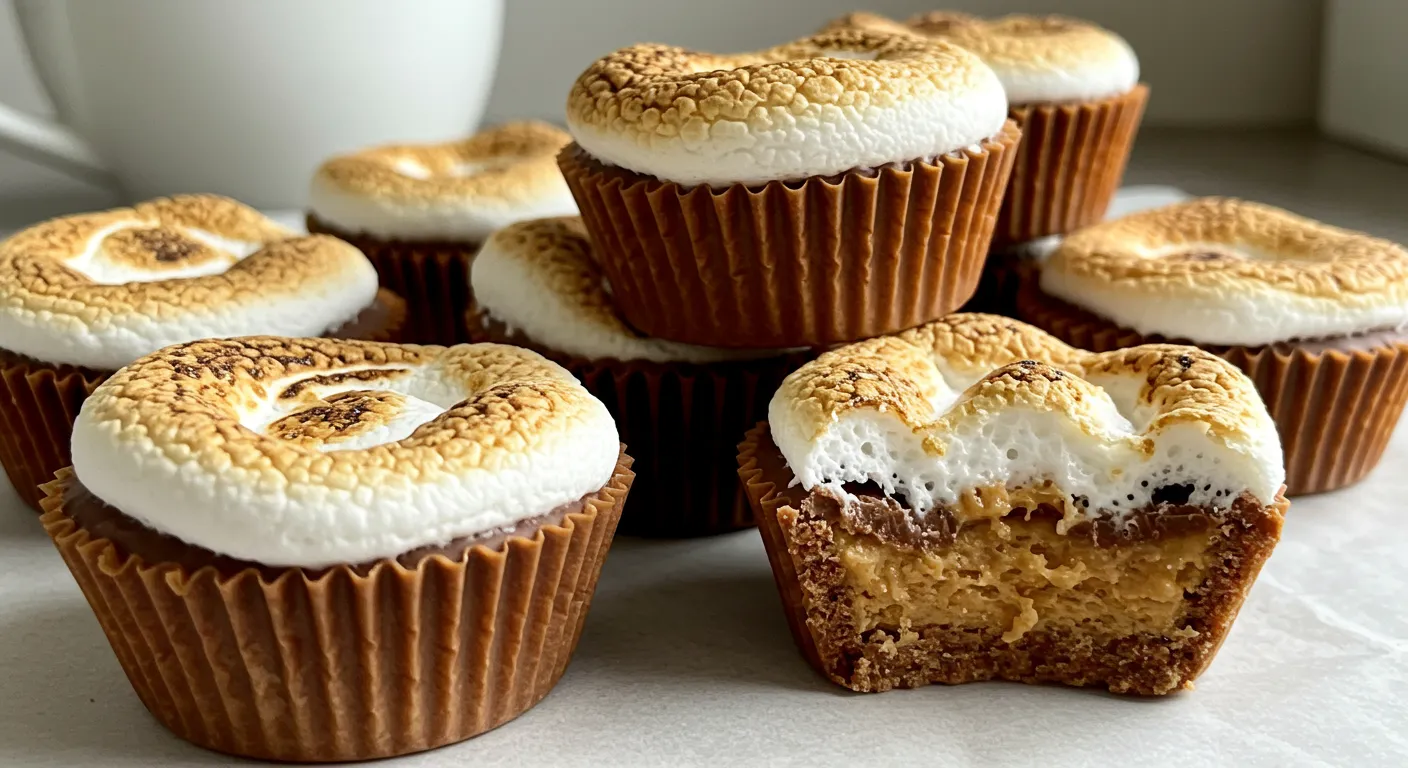
Ever wanted a dessert that’s both indulgent and comforting? Meet peanut butter marshmallow cups. They’re a no-bake treat that turns simple stuff into a tasty delight.
I fell in love with these treats on a hot summer day. I didn’t want to use the oven. So, I made these no-bake desserts. They’re perfect for quick sweet fixes.
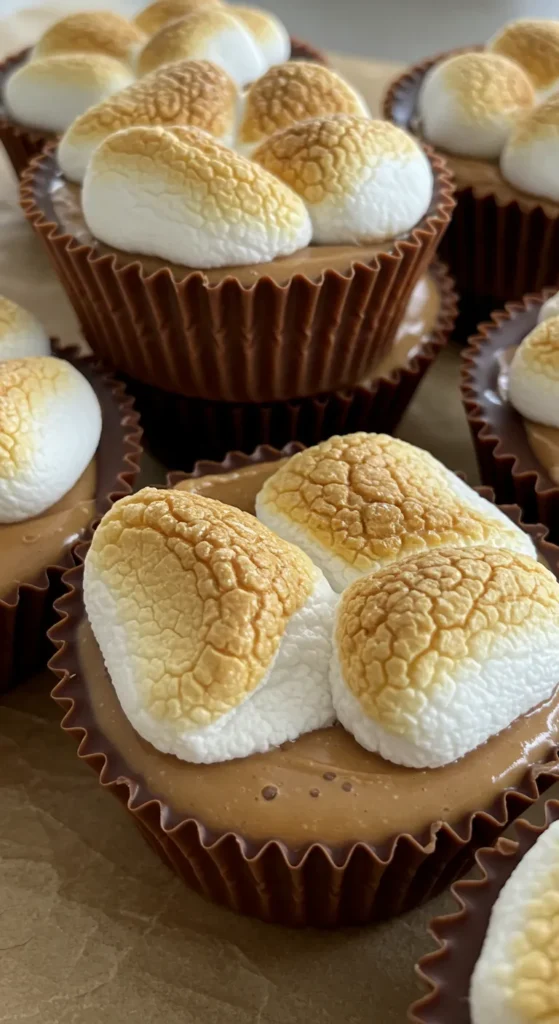
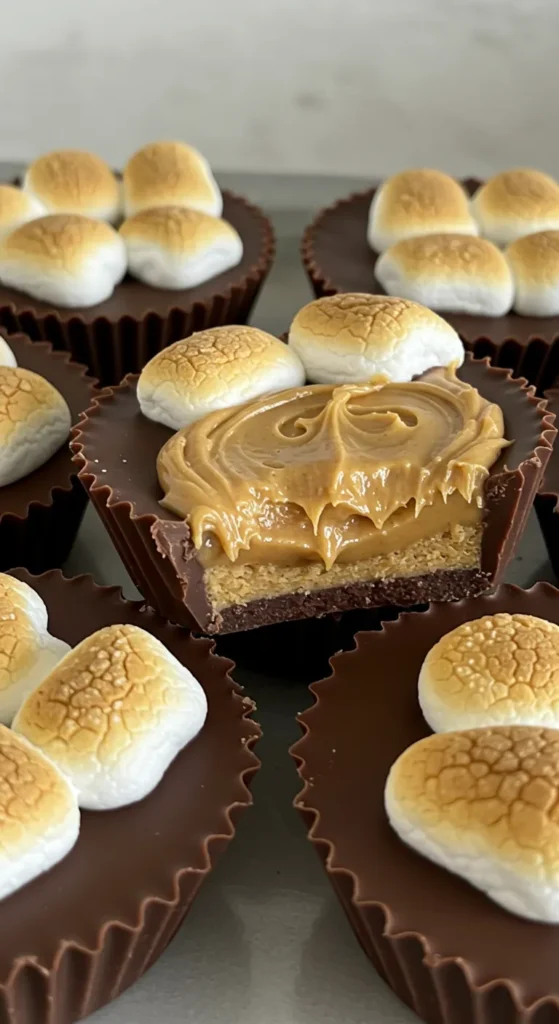
Picture making 12 peanut butter marshmallow cups in 15 minutes. They have chocolate, peanut butter, and marshmallow. It’s a quick trip to dessert heaven.
Key Takeaways
- No-bake desserts offer quick and delicious sweet solutions
- Peanut butter marshmallow cups require minimal kitchen equipment
- Perfect for summer gatherings and impromptu dessert cravings
- Versatile recipe with plenty of creative options
- Impressive treat that looks like it came from a bakery
Introduction to Peanut Butter Marshmallow Cups
I love desserts and I’m excited to share peanut butter marshmallow treats with you. These treats are more than snacks. They’re a mix of rich flavors and fun textures.
What Makes These Treats Special
Peanut butter marshmallow snacks are special because of their mix. They have:
- Creamy peanut butter
- Fluffy marshmallow layer
- Rich chocolate coating
- Delicate texture
Brief History and Inspiration
These treats are inspired by American classics. They mix the Fluffernutter sandwich with peanut butter cups. This makes them a new twist on old favorites.
“A perfect treat is not just about taste, but about creating memories with every bite.”
Why Make Them at Home
Making these treats at home has many benefits:
- Control over ingredients
- Custom flavors
- Fresher than store-bought
- Cost-effective
| Preparation Detail | Specification |
|---|---|
| Total Prep Time | 25 minutes |
| Servings | 12 cups |
| Calories per Serving | 392 kcal |
Learning about peanut butter marshmallow cups is the first step to a tasty journey. It turns simple ingredients into amazing treats.
Essential Ingredients for Perfect Cups
Making yummy homemade candies like peanut butter marshmallow cups needs the right ingredients. I’ll show you what you need to make your kitchen a place of gourmet chocolate magic.
- Semi-sweet chocolate chips: 1¾ cups (divided into ¾ cup and 1 cup)
- Creamy peanut butter: ½ cup
- Powdered sugar: 6 tablespoons
- Unsalted butter (room temperature): 1½ tablespoons
- Marshmallow creme: 4 tablespoons
Choosing top-notch ingredients is key for making amazing peanut butter marshmallow cups. The semi-sweet chocolate gives a deep flavor. Creamy peanut butter adds a smooth, nutty taste. Powdered sugar makes the filling just right.
“The secret to great homemade candies is using fresh, premium ingredients.”
When picking your ingredients, focus on the peanut butter. Use a creamy, smooth peanut butter without oils or sugars. The marshmallow creme should be soft and easy to spread. This makes your candies light and fluffy.
Pro tip: Make sure your butter is at room temperature before mixing. This will make your peanut butter marshmallow cups super smooth.
Kitchen Tools and Equipment Needed
Making yummy kid-friendly recipes like peanut butter marshmallow cups needs some basic tools. I’ll show you what you need to make these treats easily and with confidence.
Basic Tools for Success
To start, you’ll need a few key items for perfect marshmallow cups. Here’s what you must have:
- Large mixing bowl
- Medium saucepan
- 9×13 inch glass pan
- Spatula
- Parchment paper
- Quarter sheet pan
- Measuring cups and spoons
Optional Equipment for Enhanced Results
These tools are not must-haves but can make your recipes better and easier:
- Double boiler for melting chocolate
- Candy thermometer
- Silicone spatula
- Kitchen scale for precise measurements
Preparation Setup Tips
Before you start making your treats, keep these tips in mind:
- Line your work surface with parchment paper
- Measure ingredients beforehand
- Have all tools clean and ready
- Ensure children are supervised during cooking
Pro tip: Always keep safety first when cooking with kids, around hot things or sharp tools.
“Cooking together creates memories that last a lifetime” – Unknown
Step-by-Step Preparation Process
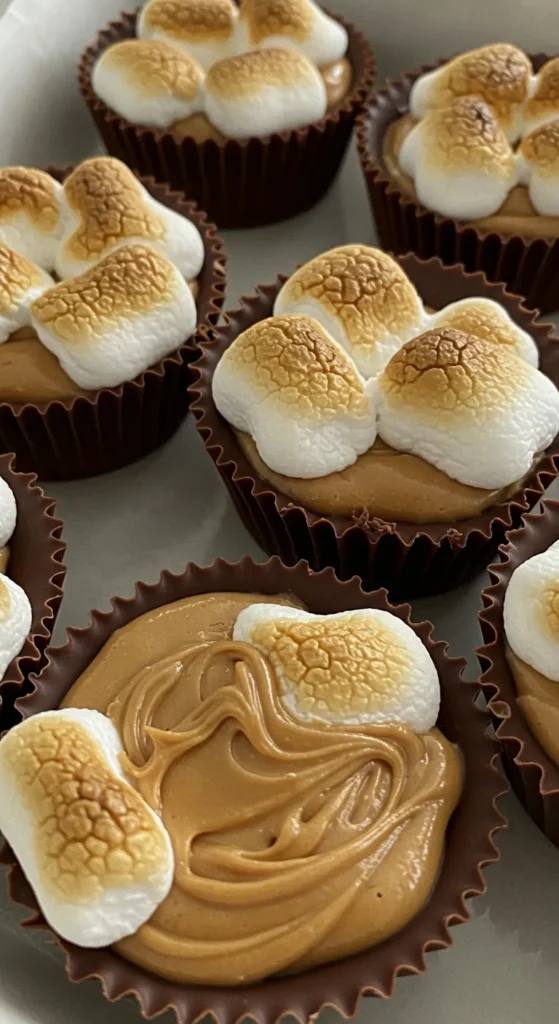
Making yummy peanut butter marshmallow cups needs care and time. I’ll show you how to make them perfect every time.
- Chocolate Shell Preparation
- Melt 1½ cups of semi-sweet chocolate chips
- Use a 9″ square pan for best results
- Carefully coat the bottom and sides of muffin cups
- Peanut Butter Filling
- Mix 1 cup of smooth peanut butter
- Add ½ cup of butter
- Incorporate 1¼ teaspoons of vanilla
- Marshmallow Layer
- Use 283g of multi-colored miniature marshmallows
- Allow mixture to cool to room temperature
- Gently fold marshmallows into the mixture
For perfect peanut butter marshmallow cups, layer and freeze. Refrigerate for 2-3 hours after each step to set layers.
“Patience is the secret ingredient in creating these irresistible treats!” – Dessert Chef
| Preparation Stage | Time Required |
|---|---|
| Preparation | 2 minutes |
| Cooking | 7 minutes |
| Resting | 20 minutes |
| Total Time | 29 minutes |
Your homemade peanut butter marshmallow cups will last 4-5 days in an airtight container. Enjoy them all week!
Creating the Perfect Chocolate Shell
Making the perfect chocolate shell is key to making your peanut butter treats special. The right way to do it makes these treats look and taste like they were made by a pro. They will wow anyone who tries them.
Chocolate Selection Tips
Choosing the right chocolate is very important for your peanut butter marshmallow cups. I suggest using 1 pound of high-quality dark chocolate for the best taste. You can also try milk or dark chocolate for different flavors.
- Dark chocolate gives a deep, rich flavor
- Milk chocolate is sweeter and creamier
- Semi-sweet chips offer a balanced taste
Proper Melting Techniques
Melting chocolate needs care and patience. Use the microwave in 30-second bursts, stirring each time. A candy thermometer helps make sure the chocolate is just right. This gives it a shiny look and a nice snap.
“Perfect chocolate is an art form that requires attention to detail and passion.”
Shell Thickness Guidelines
Getting the shell thickness just right is important. Use a heaping teaspoon of melted chocolate for each mold. Make sure the chocolate only goes halfway up the cupcake liners. This makes the shell thin yet strong.
Pro tip: Let any extra chocolate drip off after pouring. Chill the shells in the freezer for 5 minutes or in the fridge for 30 minutes. This makes them firm and look professional.
Mastering the Peanut Butter Filling
Making the perfect peanut butter filling is key for tasty peanut butter marshmallow cups. I’ve found some secrets to make a smooth, creamy filling. It will make your taste buds happy.
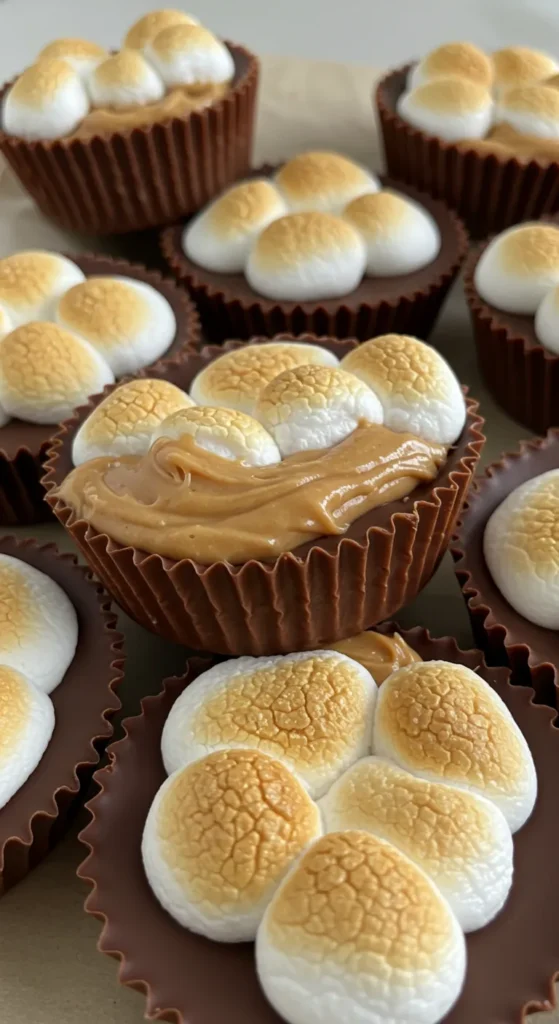
For these treats, use creamy peanut butter like JIF or Skippy. Don’t use natural peanut butter. It separates and doesn’t work well.
Essential Ingredients for Peanut Butter Filling
- 3/4 cup creamy peanut butter
- 1/2 cup powdered sugar
- 1/4 cup softened butter
- 1/2 tsp vanilla extract
To get the filling just right, mix until it’s smooth and spreadable. It should hold its shape well.
“The secret is in the balance of ingredients – not too soft, not too firm.”
My mixing trick makes the filling easy to work with. It sets perfectly in the chocolate shells. This way, you get a filling that tastes great and holds up well.
| Ingredient | Purpose | Quantity |
|---|---|---|
| Peanut Butter | Base Flavor | 3/4 cup |
| Powdered Sugar | Sweetness & Texture | 1/2 cup |
| Butter | Smoothness | 1/4 cup |
Pro tip: Chill the filling for 10-15 minutes before spreading. It’s easier to handle and avoids messes.
Adding the Marshmallow Layer
Making marshmallow snacks needs care and a gentle touch. The marshmallow layer turns simple peanut butter cups into yummy treats.
Working with Marshmallow Creme
Handling marshmallow creme smoothly is key. It works best when it’s room temperature. This makes spreading it easy.
- Use a spatula warmed under hot water for smoother spreading
- Allow marshmallow creme to sit at room temperature for 10-15 minutes before use
- Gently fold the creme to maintain its light, airy texture
Layer Assembly Tips
Layering is important for these tasty marshmallow snacks. Use a light touch to keep each layer separate.
| Ingredient | Quantity | Purpose |
|---|---|---|
| Marshmallow Fluff | ½ cup | Creates creamy marshmallow layer |
| Marshmallow Creme | ½ cup | Alternative for fluffy texture |
“The perfect marshmallow layer is about technique, not just ingredients.”
When making these treats, be patient. Let each layer set before adding the next. Refrigeration keeps layers clean and distinct.
Pro tip: Use a piping bag for precise marshmallow layer application. This ensures even distribution on your peanut butter cups.
Storage and Shelf Life
Making yummy homemade candies is like art. Knowing how to store them right keeps them tasty for weeks. Here’s how to keep your marshmallow cups fresh and yummy.
For short-term storage, keep these treats in an airtight container in the fridge. Here’s a quick guide:
- Refrigerator Storage: Up to 2 weeks
- Store in a sealed container
- Place parchment paper between layers
- Maintain consistent temperature
- Freezer Storage: Up to 2 months
- Use freezer-safe containers
- Wrap individual treats in plastic wrap
- Label with date of preparation
“Proper storage is the secret to maintaining the perfect texture and flavor of your homemade peanut butter treats!” – Candy Making Pro
When you’re ready to eat your frozen peanut butter marshmallow cups, just put them in the fridge. Let them thaw slowly. This keeps them from getting soggy.
Pro tip: Always use clean, dry utensils when handling these treats. This keeps them from getting soggy.
Troubleshooting Common Issues
Making perfect peanut butter marshmallow cups can be hard. I’ll help you with common problems and how to fix them. This way, you’ll make these treats perfectly every time.
Understanding Texture Challenges
Texture issues can ruin your peanut butter marshmallow cups. Here are some common problems:
- Grainy peanut butter filling
- Overly soft chocolate shells
- Inconsistent layer consistency
Critical Setting Techniques
Chilling is key for perfect layers. Each layer must firm up before adding the next.
| Layer | Recommended Chilling Time | Key Considerations |
|---|---|---|
| Chocolate Shell | 5-7 minutes | Ensure firm, smooth surface |
| Peanut Butter Layer | 10-12 minutes | Completely set before marshmallow |
| Marshmallow Layer | 15-20 minutes | Firm but not hard |
Preventing Layer Separation
To stop layers from separating, follow these tips:
- Use room temperature ingredients
- Chill between each layer
- Avoid overmixing
“Patience is the secret ingredient in creating perfect peanut butter marshmallow cups.”
Pro tip: If your layers start to separate, briefly return the cups to the refrigerator to help them set properly. With practice, you’ll make these treats perfectly every time!
Recipe Variations and Creative Twists
Now that you know how to make classic peanut butter marshmallow cups, it’s time for fun! I’ve found many ways to make these treats special. They will make your taste buds happy.
Let’s explore some creative ways to make your peanut butter treats amazing:
- Fruit-Inspired Twists
- Add raspberry preserves for a PB&J-inspired flavor
- Incorporate strawberry compote for a sweet fruity layer
- Savory-Sweet Combinations
- Sprinkle crispy bacon bits for a salty-sweet sensation
- Add a dash of sea salt to enhance flavor complexity
- Alternative Nut Butter Options
- Swap peanut butter with almond butter
- Experiment with cashew or sunflower seed butter
These treats are very versatile. They’re great for family gatherings or just for you. There’s something for everyone.
“Creativity is intelligence having fun!” – Albert Einstein
Don’t forget about size! Make mini cups for snacks or bigger ones to share. With just 15 minutes to prepare, you can try many new things. These peanut butter marshmallow cups are always exciting.
Conclusion
Making these yummy peanut butter marshmallow cups was a fun journey. I love making treats that kids enjoy. It’s rewarding to see the joy in the kitchen.
The beauty of these cups is how easy they are to make. They mix creamy peanut butter with fluffy marshmallows. Each bite is a story of love and creativity.
When you cook, you’re on an adventure. These cups are more than dessert. They help you make memories and bond with your family. Every batch gets better, and soon, everyone will want your recipe.
My last tip is to have fun. Enjoy every second in the kitchen. Making these treats will make everyone happy.
FAQ
How long do homemade peanut butter marshmallow cups last?
These treats can last up to 2 weeks in the fridge. If you freeze them, they last up to 3 months. Use parchment paper to keep them from sticking.
Can I use natural peanut butter for this recipe?
No, natural peanut butter is not good for these snacks. It can make the filling too runny. Use creamy peanut butter like Jif or Skippy instead.
Are these peanut butter marshmallow cups kid-friendly to make?
Yes, kids can help make these treats. Just watch them when they’re working with hot ingredients. They’ll enjoy layering the chocolate and peanut butter.
Can I make these treats dairy-free?
Yes, you can make them dairy-free. Use dairy-free chocolate chips and coconut oil instead of butter. Make sure all ingredients are dairy-free.
What’s the best way to melt chocolate for the shell?
Use a double boiler or microwave in short intervals. Stir between each interval. This prevents burning and makes the chocolate smooth.
Can I substitute marshmallow creme with regular marshmallows?
No, regular marshmallows won’t work well. Marshmallow creme is better for spreading. Stick to the original recipe if you can’t find creme.
How do I prevent my layers from mixing together?
Freeze each layer for 10-15 minutes. This helps each layer set, keeping them separate and beautiful.
Are these peanut butter marshmallow cups gluten-free?
Most ingredients are gluten-free. But check your chocolate and marshmallow creme labels. Many brands are gluten-free.
Can I make these in advance for a party?
Yes, you can make them ahead of time. Store them in the fridge up to a week. They’re perfect for parties.
What are some fun variations I can try?
Try adding fruit preserves or sprinkling sea salt on top. Use different chocolates or add crushed nuts for extra flavor.

