Table of Contents
Last Thanksgiving, I found a dessert that changed my holiday baking. Oreo truffles became my go-to for quick, impressive treats. They are perfect for busy cooks like me.
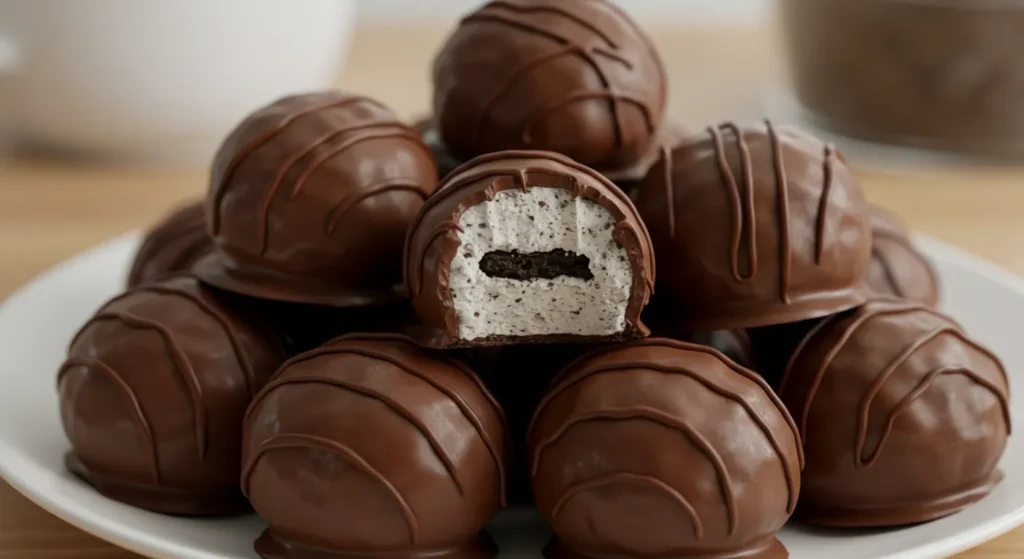
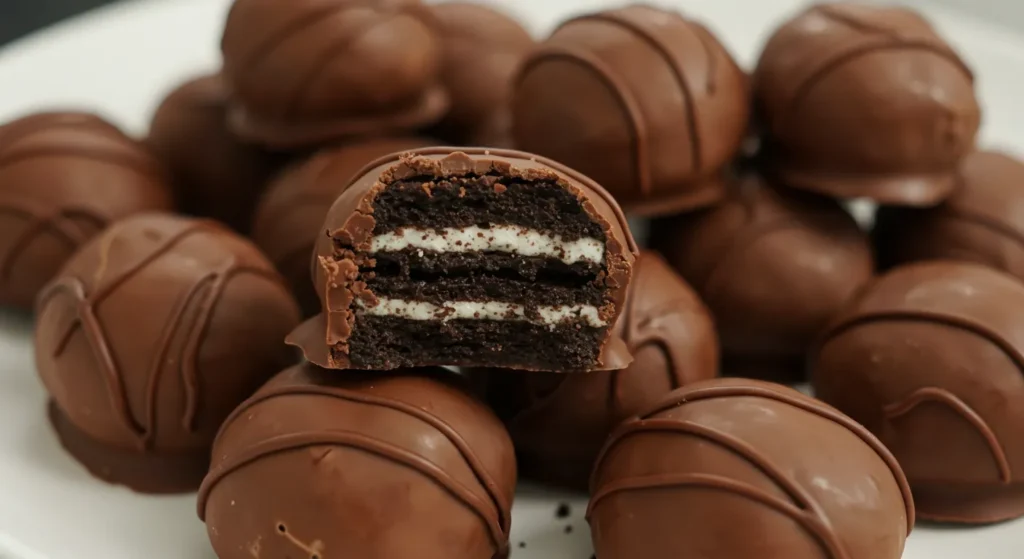
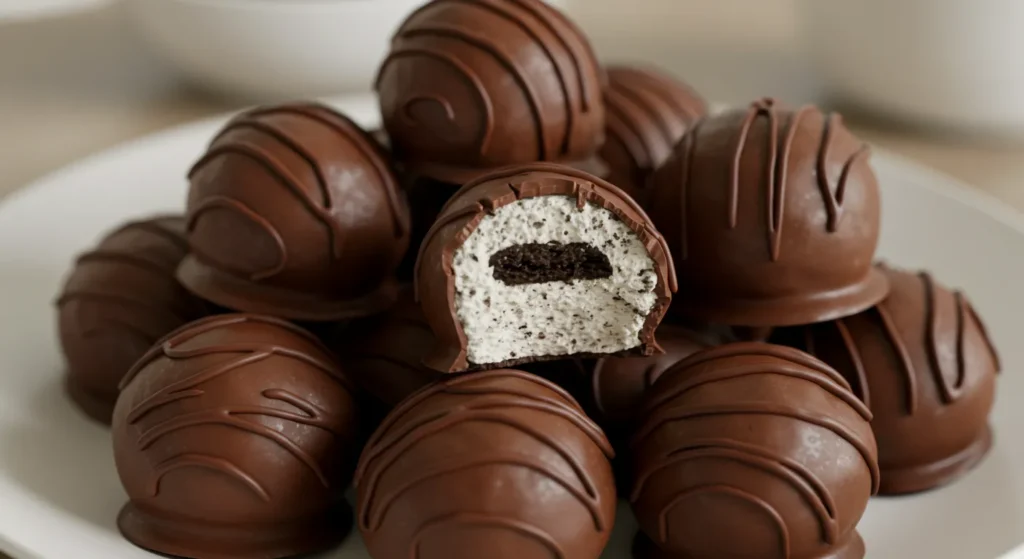
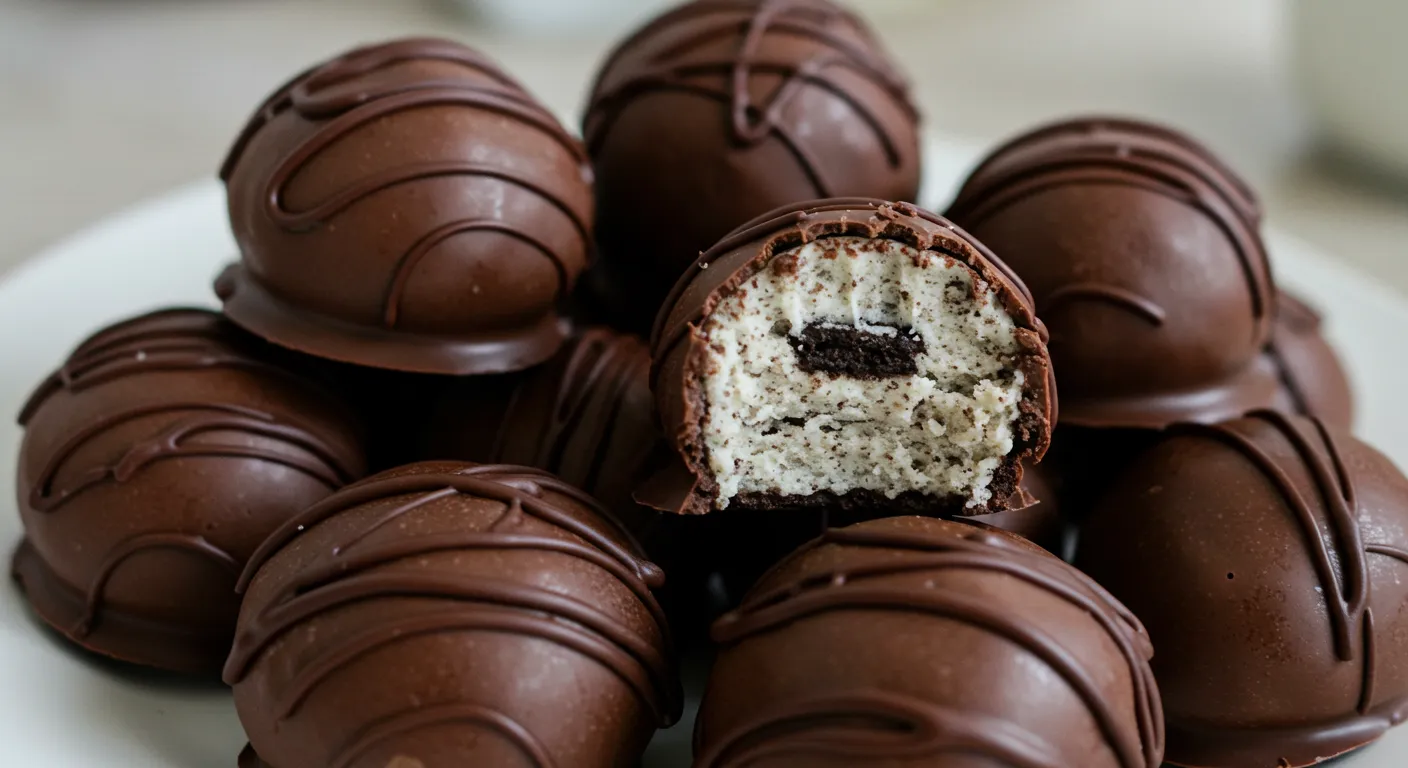
Oreo truffles are easy to make and taste amazing. They need just three ingredients and no baking. Crushed Oreos, cream cheese, and chocolate make them special.
My family loves these no-bake desserts at every event. I’m happy to share how to make them. They look fancy but are easy to make.
Key Takeaways
- Only 3 ingredients needed for delicious Oreo truffles
- No baking required – perfect for quick desserts
- Takes just 30 minutes total preparation time
- Yields approximately 36 truffles per batch
- Versatile recipe that can be customized with different Oreo flavors
Why These Oreo Truffles Are Irresistible
Oreo truffles are my top pick for party snacks. They’re not just a sweet treat. They’re a magic trick that wows everyone.
Perfect for Any Occasion
These truffles are easy and versatile. They’re great for birthdays, holidays, or just when you want something sweet. They’re perfect for any event.
- Quick to prepare
- Crowd-pleasing dessert
- Elegant enough for formal events
- Casual enough for family gatherings
Only Three Simple Ingredients
I love simple recipes. These truffles need only three things: Oreos, cream cheese, and chocolate. Here’s what you need:
| Ingredient | Quantity |
|---|---|
| Oreo Cookies | 36 cookies (530g) |
| Cream Cheese | 8 oz |
| Chocolate Coating | 10 oz Ghirardelli melting wafers |
No Baking Required
The best part? No oven needed! You can make these truffles in minutes. Just crush, mix, roll, and dip. In 20 minutes, you’ll have 36 delicious truffles.
“These truffles are so easy, even a novice baker can impress their friends!” – Kitchen Enthuasiast
Essential Ingredients for Oreo Truffles
Making yummy oreo cookie balls is easy. You just need three simple things. These turn regular cookies into special treats.
- Oreo Cookies: 36 classic Oreo cookies (avoid double-stuffed varieties)
- Cream Cheese: 8 ounces of full-fat brick cream cheese
- Chocolate for Coating: High-quality melting chocolate
Choosing the right ingredients is key. Use full-fat cream cheese for the best taste. Stick with regular Oreo cookies for the best results.
| Ingredient | Quantity | Notes |
|---|---|---|
| Oreo Cookies | 36 cookies | Regular style, not double-stuffed |
| Cream Cheese | 8 oz | Full-fat brick style recommended |
| Chocolate | 12 oz | High-quality melting chocolate |
“The secret to amazing oreo cookie balls is using fresh, high-quality ingredients!”
Pro tip: If you coat with chocolate chips, add a teaspoon of coconut oil. It makes the finish smooth and shiny.
Kitchen Tools You’ll Need
Making yummy Oreo truffles needs some basic kitchen tools. I’ll show you what you need to make these treats easily and well.
Must-Have Equipment
First, you’ll need some important items for making perfect Oreo truffles:
- Large mixing bowl
- Food processor or blender (for crushing Oreos)
- Baking sheet
- Parchment paper
- Rubber spatula
- Measuring cups and spoons
Optional but Helpful Tools
These tools are not must-haves but can help a lot:
- Cookie scoop for uniform truffle sizes
- Dipping tools for chocolate coating
- Silicone baking mat
- Digital kitchen scale
Pro tip: If you don’t have a food processor, you can crush Oreos in a sealed plastic bag using a rolling pin!
Storage Containers
To keep your treats fresh, use containers that are:
- Plastic containers with tight-fitting lids
- Containers that can be refrigerated
- Separate layers with parchment paper
With these tools, you’ll be all set to make tasty Oreo truffles. They’ll surely impress at your gathering!
How to Make the Perfect Oreo Truffle Base
Making the best Oreo truffles starts with the base. I’ll show you how to make a smooth, tasty cream cheese base. This base will make your truffles irresistible.

The secret to amazing oreo truffles is the right mix of ingredients. You need one 14.3-ounce package of Oreo cookies and 8 ounces of full-fat cream cheese. Avoid low-fat cream cheese, as it won’t bind right.
Crushing Techniques
- Use a food processor for uniform crumbs
- Crush cookies until they reach a fine, consistent texture
- Aim for no large cookie chunks
When mixing the cream cheese and Oreo crumbs, use a stand or hand mixer. This makes the base smooth and perfect.
“The key to great oreo truffles is achieving the right moisture balance” – Professional Baker’s Tip
| Ingredient | Quantity | Purpose |
|---|---|---|
| Oreo Cookies | 1 package (14.3 oz) | Base and flavor |
| Cream Cheese | 8 oz (full-fat) | Binding agent |
Pro tip: If your mix is too dry, add cream cheese little by little. If it’s too wet, add more Oreo crumbs. The mix should be smooth and easy to shape into balls.
Chilling the Base
After mixing, chill the base for at least 30 minutes. This step keeps the truffles firm during coating. It also makes them taste better.
Tips for Rolling and Shaping Your Truffles
Making chocolate truffles needs care and patience. I’ve made many treats and learned how to roll Oreo truffles well. This will help you make them look like they were made by a pro.
Size and Consistency Guidelines
Try to make your truffles the same size, about 1 inch. Here’s what to do:
- Scoop about 1 tablespoon of Oreo truffle mix (18-22g)
- Roll gently between your palms to create smooth, round balls
- Keep hands slightly cool to prevent mixture from sticking
- Use a small cookie scoop for consistent sizing
Troubleshooting Common Shaping Issues
Oreo truffle mixtures can be tricky. If your mix is too wet, don’t worry! Here’s what to do:
- Overly Wet Mixture: Refrigerate for 15 minutes before rolling
- Crumbly Texture: Add a small amount of cream cheese to bind ingredients
- Sticky Hands: Lightly coat hands with powdered sugar
“The secret to perfect chocolate truffles is patience and practice!” – Pastry Chef Recommendation
Pro tip: Chill your shaped truffles for at least 30 minutes before coating. This keeps them in shape and makes coating easier.
Chocolate Coating Techniques
Creating perfect chocolate truffles is all about mastering chocolate coating. I’ll share my top techniques. They will turn your Oreo balls into treats that look and taste great.

Choosing the right chocolate is key. Use chocolate almond bark and semi-sweet chocolate chips. This mix prevents blooming and gives a smooth finish.
Chocolate Melting Methods
- Double Boiler Method
- Gentle, consistent heating
- Prevents chocolate from burning
- Maintains smooth texture
- Microwave Method
- Quick and convenient
- Melt in 20-second increments
- Stir between each heating cycle
Pro tip: Add a small amount of vegetable oil. It thins the chocolate for a smooth coating.
| Chocolate Type | Melting Temperature | Best Use |
|---|---|---|
| Dark Chocolate | 86-90°F | Rich, intense flavor |
| Milk Chocolate | 84-88°F | Sweeter coating |
| White Chocolate | 82-84°F | Decorative drizzles |
Dipping techniques are important. Use a fork to gently dip each Oreo truffle. Tap off excess and place on parchment paper for a clean look.
“The secret to perfect chocolate truffles is patience and practice!” – Candy Making Expert
Quick cooling is key. Place your coated truffles in the fridge for about 10 minutes. This sets the chocolate and keeps it glossy.
Creative Decoration Ideas
Decorating Oreo truffles can be so much fun! You can make them look amazing for any holiday. They will impress your guests and make any party special.
Holiday-Inspired Decorations
- Christmas Theme:
- Use red and green candy melts
- Sprinkle with festive holiday sugar
- Create Christmas tree or bauble designs
- Halloween Variation:
- Coat in orange and black chocolate
- Add spooky sprinkle decorations
- Create monster or pumpkin shapes
Seasonal Topping Techniques
Here are some great ways to add toppings to your truffles:
| Season | Decoration Ideas | Recommended Toppings |
|---|---|---|
| Winter | Snowflake Design | Crushed peppermint, white sprinkles |
| Spring | Pastel Colors | Colorful nonpareils, edible flowers |
| Summer | Bright Tropical | Coconut shavings, rainbow sprinkles |
Pro tip: The key to amazing decorations is letting your creativity shine!
Try different chocolate coatings and sprinkles. Use cool drizzling techniques. You can make these Oreo truffles look amazing and taste great.
Storage and Make-Ahead Instructions
Making easy desserts like Oreo truffles needs smart storage. I’ll share my top tips to keep these treats fresh and yummy.
Storing Oreo truffles right is key. They have cream cheese, so they need special care to stay good and tasty.
Refrigeration Guidelines
- Store truffles in an airtight container
- Keep refrigerated at 40°F or below
- Maximum refrigeration time: 1.5 weeks
Room Temperature Serving
Remember, truffles can be out at room temperature for up to 2 hours. Always put leftovers back in the fridge fast.
Freezing Instructions
| Freezing Detail | Recommendation |
|---|---|
| Maximum Freeze Time | 3 months |
| Thawing Method | Refrigerator overnight |
| Packaging | Airtight container or freezer bag |
Pro tip: Wrap each truffle in plastic wrap before freezing for the best results.
Make your Oreo truffles up to 2 days ahead for easy party planning!
Follow these storage tips to keep your homemade Oreo truffles tasty and safe for days or months.
Different Oreo Flavors to Try
Creating delicious oreo cookie balls doesn’t mean you’re limited to classic Oreos! I’ve found some exciting flavor combinations. These turn these easy dessert recipes into culinary adventures.
When trying new Oreo flavors, use standard Oreos. Pro tip: Avoid Double-Stuf varieties, as the extra filling can make your truffle mixture too wet and difficult to form.
Popular Oreo Flavors for Truffles
- Mint Chocolate Oreos
- Peanut Butter Oreos
- Golden Oreos
- Seasonal Limited Edition Flavors
Each flavor adds a unique twist to your oreo cookie balls. Mint Oreos go great with dark chocolate coating. Peanut butter Oreos pair well with milk chocolate.
| Oreo Flavor | Recommended Coating | Flavor Profile |
|---|---|---|
| Classic Oreo | White Chocolate | Traditional, Crowd-Pleaser |
| Mint Oreo | Dark Chocolate | Refreshing, Cool |
| Peanut Butter Oreo | Milk Chocolate | Rich, Nutty |
| Golden Oreo | Vanilla Candy Melts | Sweet, Subtle |
“The secret to amazing oreo cookie balls is experimenting with different Oreo flavors!” – Dessert Enthuasiast
Remember to adjust your cream cheese when using sweeter Oreos. You want a mix that’s easy to roll and holds together well.
Common Mistakes to Avoid
Making homemade candy like Oreo truffles can be tricky. But knowing common mistakes helps you make perfect chocolate truffles. Let’s look at the most common problems and how to fix them.
Temperature Control Nightmares
Temperature is key when making chocolate truffles. Here are some issues to watch out for:
- Chocolate hardening too quickly
- Truffles melting during coating
- Inconsistent chocolate temperature
Quick tip: Keep your workspace cool and work fast. Reheat chocolate in 10-second intervals or use a double boiler for smooth consistency.
Coating Catastrophes
Getting a perfect chocolate coating needs precision. Watch out for these problems:
- Uneven chocolate coverage
- Thick or thin coating
- Truffles falling apart during dipping
Pro strategy: Use a fork for dipping and tap gently to remove excess chocolate. Keep chocolate at 86-90°F for best coating.
Texture Troubles
The right texture is key for chocolate truffles. Avoid these common issues:
- Overly soft centers
- Crumbly truffle mixture
- Inconsistent truffle density
| Problem | Solution |
|---|---|
| Soft Centers | Chill mixture longer (30 minutes recommended) |
| Crumbly Texture | Adjust cream cheese ratio |
| Uneven Density | Mix ingredients thoroughly |
Remember, practice makes perfect with homemade candy. Each batch of chocolate truffles gets easier as you learn the techniques!
“Patience and attention to detail are the secret ingredients in creating amazing chocolate truffles.” – Pastry Chef Recommendation
Conclusion
I’m excited to share why these Oreo truffles are my favorite easy dessert. They need only four simple ingredients. You can make an amazing party snack that will wow everyone.
Making Oreo truffles is more than a recipe. It’s a fun adventure that lets you be creative. They’re perfect for any event, and they’re easy to make. It takes less than two hours, including chilling time.
My top tip is to try different Oreo flavors and coatings. You can make them look fancy with white chocolate or seasonal decorations. It’s all about having fun and trying new things. Your guests will love how good they look and taste, and they’ll be surprised by how easy they are to make!
So, go ahead and start making these delicious treats. Your kitchen will soon be filled with yummy memories. Your journey with these irresistible truffles begins now!
FAQ
How long do Oreo truffles last in the refrigerator?
Oreo truffles last 1-2 weeks in the fridge. Keep them chilled to keep their texture and taste good.
Can I freeze Oreo truffles?
Yes! Freeze them for up to 3 months. Put them in a container with parchment paper between layers. Thaw in the fridge before eating.
What type of chocolate works best for coating?
Use melting chocolate or chocolate bark for coating. High-quality chocolate wafers or melts give a smooth finish.
Can I use different Oreo flavors?
Absolutely! Try Mint, Peanut Butter, or Birthday Cake Oreos for different truffles. Keep the recipe the same.
How do I prevent the truffles from falling apart when dipping?
Chill the truffle balls for 30 minutes before dipping. Use a fork or dipping tool and work fast.
Are Oreo truffles gluten-free?
No, traditional Oreo truffles are not gluten-free. But, you can make a gluten-free version with gluten-free cookies and chocolate.
How many truffles does the recipe typically make?
You get 30-36 truffles from one batch. The size of your truffles can change this number.
Can kids help make these truffles?
Kids can help a lot! They’re great for rolling and decorating. Just watch the hot chocolate steps.
What’s the best way to store Oreo truffles for a party?
Store them in the fridge until 15-30 minutes before serving. Use a chilled platter or a tray with ice packs.
Can I make these truffles ahead of time?
Yes! Make them up to 3 days in advance. Store them in an airtight container in the fridge.

