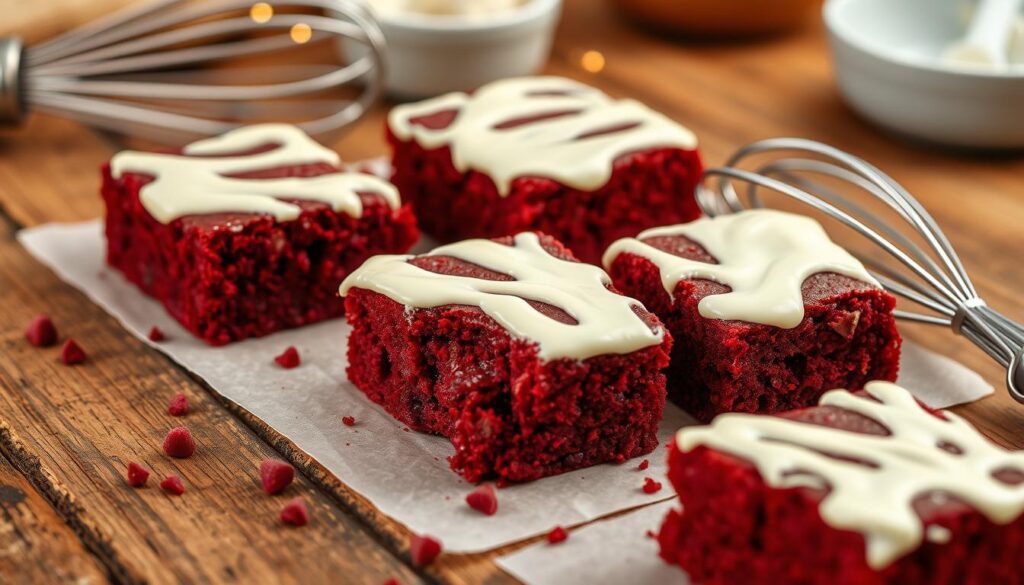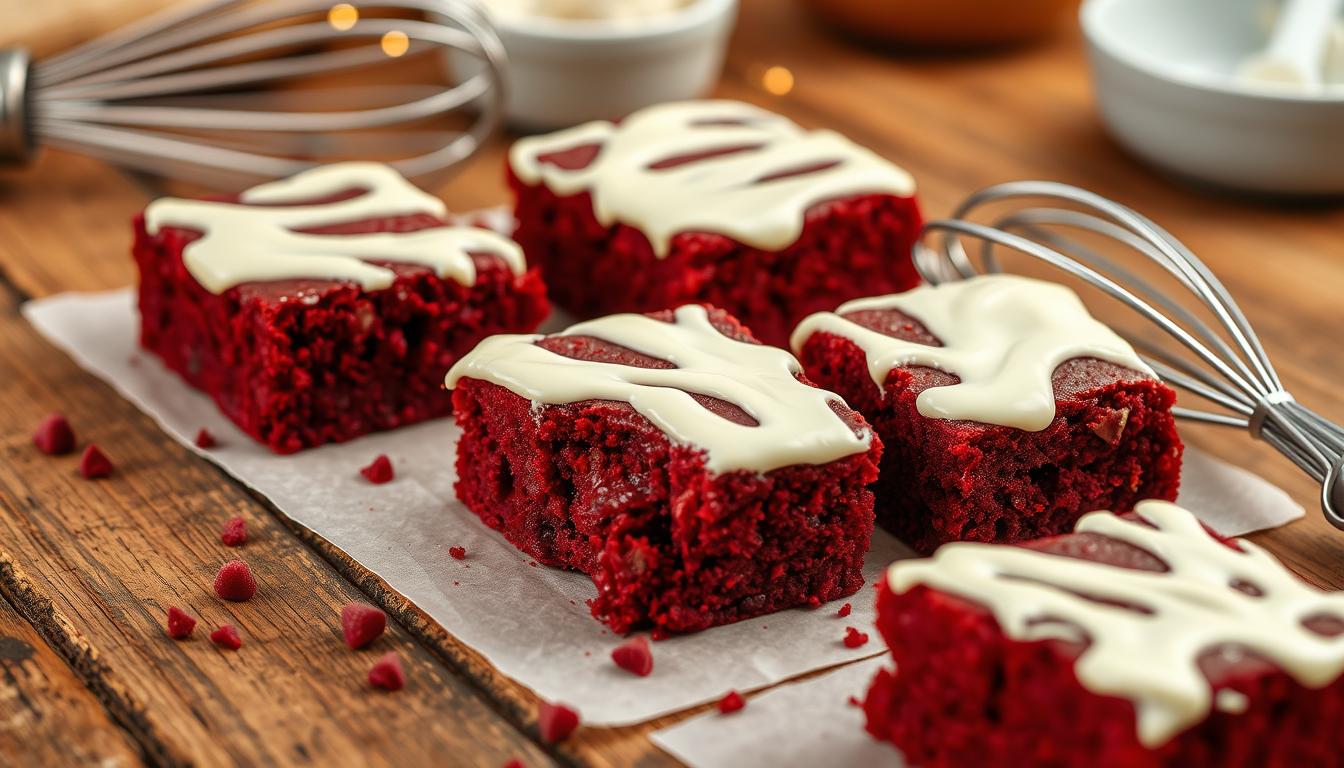
Imagine a warm kitchen filled with the smell of chocolate. A splash of vibrant red color mixes with the rich batter. This creates a decadent dessert that makes your taste buds dance.
Picture making chocolate brownies that are not just ordinary. They are a stunning red velvet masterpiece. These desserts blend the deep taste of chocolate with a striking crimson hue. Every bite is a visual and culinary adventure.
Whether you love baking or are just curious, this guide will show you how to make the most irresistible red velvet brownies. Get ready to take your dessert game to the next level. Discover the magic of this classic treat with a modern twist.
Key Takeaways
- Learn the secrets to creating perfect red velvet brownies
- Discover professional baking techniques for a stunning dessert
- Understand the unique flavor profile of red velvet
- Master the art of achieving the ideal brownie texture
- Explore creative variations and serving suggestions
Understanding the Magic of Red Velvet Brownies
Red velvet brownies are a special twist on chocolate desserts. They mix rich flavor with a stunning look. Their vibrant red color and smooth texture make them stand out.
The Origin of Red Velvet Flavor
The red velvet flavor started in the Great Depression. Bakers found that cocoa powder mixed with buttermilk turned red. This mix gave the dessert its unique taste and color.
What Makes Red Velvet Different from Regular Brownies
- Uses buttermilk for extra moisture and tanginess
- Incorporates food coloring for signature red appearance
- Contains less cocoa powder compared to traditional chocolate brownies
- Offers a more complex flavor profile
The Perfect Balance of Chocolate and Vanilla
Red velvet brownies blend chocolate and vanilla perfectly. Cocoa powder adds a hint of chocolate, while vanilla brings depth. Food coloring makes them look as good as they taste.
“Red velvet is not just a color, it’s an experience of flavor and texture.”
Baking red velvet brownies is more than making a dessert. It’s creating a culinary masterpiece that pleases the eyes and taste buds.
Essential Ingredients for Perfect Red Velvet Brownies
Starting with the right ingredients is key to making delicious red velvet brownies. Each part adds to their rich taste and bright color. Choose carefully to make your brownies stand out.
High-quality ingredients are the base of these indulgent brownies. They work together to create a perfect mix. Here’s what you need:
- Flour and Cocoa: These give depth and a strong chocolate flavor
- Red Food Coloring: This gives the brownies their signature red color
- Eggs and Oil: They keep the brownies moist and hold everything together
For the cream cheese frosting, you’ll need specific ingredients for that tangy sweetness. Choose fresh, top-notch products to enhance the taste.
“The secret to extraordinary brownies lies in the quality of ingredients you choose.” – Baking Experts
Here’s what you’ll need for the brownies:
- All-purpose flour (¼ cup)
- Unsweetened cocoa powder (¼ cup)
- Red velvet cake mix (15.25-ounce box)
- Large eggs (4)
- White sugar (⅔ cup)
- Vegetable oil (1 cup)
Tip: Let eggs warm up to room temperature before mixing. This helps mix them smoothly and evenly. Your hard work in choosing the right ingredients will make your brownies unforgettable.
Kitchen Tools and Equipment Needed
Making tasty baking treats needs more than just good ingredients. The right kitchen tools are key to perfect red velvet brownies. Choosing the right equipment helps you get professional results at home.
Baking Pans and Liners
Your baking pan is very important for dessert success. For red velvet brownies, an 8×8 inch square pan is best. You should use:
- Non-stick aluminum pan
- Parchment paper for easy removal
- Glass baking dish (note: may require longer baking time)
Mixing Tools and Measuring Equipment
Getting precise measurements is crucial for perfect treats. You’ll need:
- Measuring cups (liquid and dry)
- Measuring spoons
- Large mixing bowls
- Whisk or electric mixer
- Rubber spatula
Temperature Control Essentials
Controlling temperature is key for baking. You’ll need:
| Tool | Purpose |
|---|---|
| Oven thermometer | Verify accurate oven temperature |
| Digital instant-read thermometer | Check internal brownie temperature |
| Cooling rack | Allow proper cooling after baking |
Pro tip: Always preheat your oven to 350°F and use an oven thermometer to ensure precise temperature for your red velvet brownies.
With these tools, you’ll be ready to make delectable red velvet brownies. They’ll surely impress your family and friends.
Step-by-Step Preparation Process
Making delicious red velvet brownies needs precision and skill. Start by getting all ingredients ready and setting up your kitchen.
First, prepare your mise en place. This is key for making great red velvet brownies. Make sure all ingredients are measured and ready to mix.
- Preheat your oven to 350°F (177°C)
- Line a 9×9-inch baking pan with parchment paper
- Melt unsalted butter (10 tablespoons) in a medium saucepan
- Combine dry ingredients in a separate bowl
For the best chocolate brownies, measure your ingredients carefully. The right ratios are crucial:
| Ingredient | Quantity |
|---|---|
| Granulated Sugar | 1.5 cups (200 grams) |
| Unsalted Butter | ¾ cup (170 grams) |
| Eggs | 2 large eggs |
| Red Food Coloring | 1 tablespoon (15 ml) |
Pro tip: Let eggs come to room temperature for about 30 minutes before starting. This makes the batter smoother and the brownies more even.
“Baking is a science, and red velvet brownies require precision and love.”
Mix wet ingredients first, then add dry ingredients slowly. Don’t overmix to avoid tough brownies. Add red food coloring slowly for the perfect red color.
- Mix for 2-3 minutes until just combined
- Pour batter into prepared pan
- Spread evenly with a spatula
- Tap pan to remove air bubbles
Your red velvet brownies are now ready to bake to perfection!
Mastering the Red Velvet Brownie Batter
Making the perfect red velvet brownies needs precision and a few key techniques. Whether you want them cake-like or fudgy, knowing how to prepare the batter is key.
Achieving the Perfect Color
Food coloring is crucial for red velvet brownies. Choose gel-based food coloring for a deeper, more vibrant color. Start with 1-2 teaspoons of red gel food coloring and add more until you get the right shade.
- Use gel food coloring for intense color
- Add coloring gradually to control shade
- Avoid using too much liquid food coloring
Proper Mixing Techniques
The secret to great brownies is in how you mix them. Gently fold the ingredients to keep the batter smooth. Overmixing can make the brownies tough and dense instead of tender.
“Mix until just combined” is the golden rule for perfect brownie texture.
Testing for Doneness
To know when your brownies are done, watch them closely. Use a toothpick to check the center – it should have a few moist crumbs. Bake at 160°C (fan) or 180°C (conventional) for 22-25 minutes. A slight wobble in the center means they’re just right.
| Baking Indicator | Description |
|---|---|
| Toothpick Test | Moist crumbs, not completely clean |
| Center Texture | Slight wobble when pan is shaken |
| Baking Time | 22-25 minutes |
Remember, practice makes perfect with red velvet brownies. Each batch will help you get better at making the batter just right and knowing when they’re done.
Creating the Perfect Cream Cheese Frosting

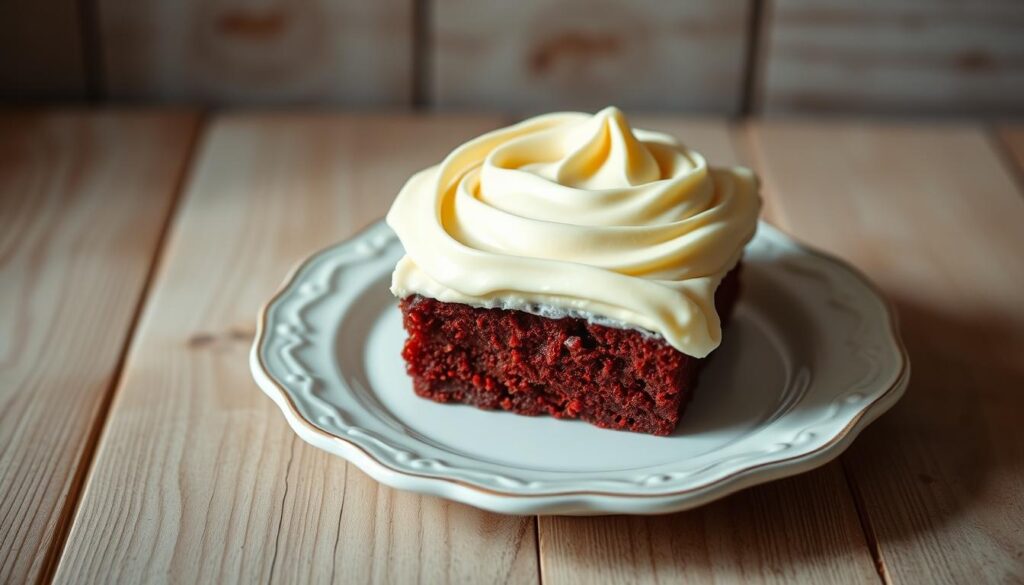
Take your desserts to the next level with a rich cream cheese frosting. It turns simple red velvet brownies into a special treat. The frosting’s tangy flavor pairs perfectly with the brownies’ chocolate taste.
To make the best cream cheese frosting, you’ll need a few things:
- 4 ounces cream cheese (softened)
- ¼ cup unsalted butter (room temperature)
- 1 ½ cups powdered sugar
- 1-3 teaspoons heavy cream
- 1 teaspoon vanilla extract
For a smooth frosting, start by mixing the cream cheese and butter. Beat them together for about 1 minute until they’re fully mixed. Then, slowly add the powdered sugar to avoid a mess.
“A perfectly crafted cream cheese frosting can turn good brownies into an unforgettable dessert experience.”
Getting the frosting’s consistency right is important. Add heavy cream a teaspoon at a time until it’s right for spreading or piping. The frosting will keep in the fridge for up to 5 days, so you can enjoy it for a while.
| Ingredient | Quantity | Purpose |
|---|---|---|
| Cream Cheese | 4 oz | Provides tangy base |
| Butter | ¼ cup | Adds richness |
| Powdered Sugar | 1 ½ cups | Sweetens and stabilizes |
Pro tip: Use room temperature ingredients for the smoothest frosting. This makes mixing easier and gives your frosting a silky texture. Your red velvet brownies will be irresistible.
Storage Tips and Shelf Life
Keeping your homemade red velvet brownies fresh is important. Whether you’re enjoying them now or saving them for later, the right storage is crucial. It helps keep their taste and texture perfect.
Room Temperature Storage
For the best taste, store your red velvet brownies at room temperature. Here’s how to keep them delicious:
- Store in an airtight container
- Keep away from direct sunlight
- Consume within 3-5 days for best quality
Freezing Guidelines
Freezing is a great way to keep your brownies fresh longer. Here’s how to freeze them right:
| Storage Method | Duration | Recommended Technique |
|---|---|---|
| Unfrosted Brownies | Up to 3 months | Wrap individually in plastic wrap and aluminum foil |
| Frosted Brownies | Up to 2 months | Place in a single layer in a freezer-safe container |
Maintaining Freshness
To keep your red velvet brownies tasting great, follow these tips:
- Always cool brownies completely before storing
- Use wax paper between layers when stacking
- Avoid storing near strong-smelling foods
“The secret to delicious brownies is not just in the baking, but in the careful storage.” – Pastry Chef Recommendation
Pro tip: If refrigerating brownies with cream cheese frosting, remove them 30 minutes before serving to restore their ideal texture and flavor.
Variations and Add-ins for Red Velvet Brownies
Turn your chocolate brownies into exciting treats with creative mix-ins. These add-ins can make your red velvet brownies stand out. They can turn simple brownies into amazing desserts that impress everyone.

Here are some fun add-in options to make your red velvet brownies special:
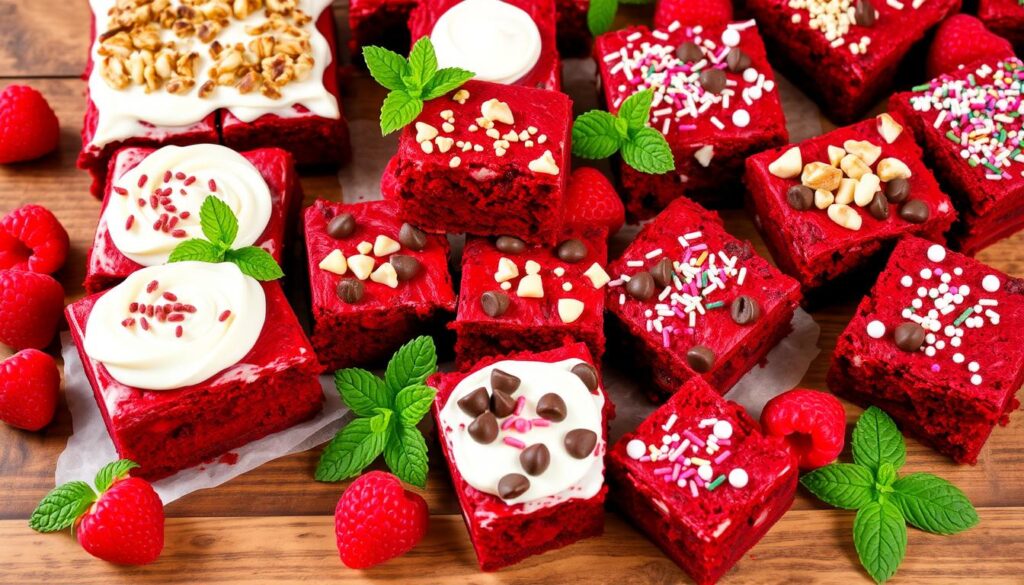
- Nutty Delights: Add chopped pecans, walnuts, or almonds for a crunchy bite
- Chocolate Lovers: Sprinkle white chocolate chips or dark chocolate chunks for extra chocolate
- Fruity Twists: Mix in dried cherries, raspberries, or cranberries for a tangy twist
Each add-in adds a special touch to your brownies. It lets you make the classic red velvet recipe your own.
| Add-in Category | Recommended Quantity | Flavor Profile |
|---|---|---|
| Nuts | 1/2 cup chopped | Crunchy, earthy |
| Chocolate Chips | 3/4 cup | Rich, decadent |
| Dried Fruits | 1/3 cup | Tangy, sweet |
“The secret to amazing chocolate brownies is not just in the recipe, but in the creative touches you add.” – Professional Baker
When adding mix-ins, gently fold them into the batter. This keeps the red velvet texture and prevents overmixing. Your special brownies will be a hit at any event!
Conclusion
Your journey into the world of red velvet brownies has been both delicious and educational. These decadent desserts mix rich chocolate with vibrant color. They can turn any gathering into a special event. Now, you can make stunning red velvet brownies that will wow your family and friends.
Baking is an art that requires precision and creativity. The red velvet brownie recipe you’ve learned is perfect for adding your own twist. Whether it’s for a potluck, family dinner, or just for yourself, these brownies are a hit. They stand out among other desserts.
Remember, practice makes perfect. Every time you bake red velvet brownies, you’ll get better. Feel free to try new toppings, frosting styles, or small ingredient changes. Your creativity can turn a classic recipe into something truly unique.
These brownies have about 347 calories per serving and take just 15 minutes to prepare. Store them in an airtight container in the fridge for up to 6-7 days. This way, you can enjoy them all week long.
FAQ
What makes red velvet brownies different from regular chocolate brownies?
Red velvet brownies have a unique taste. They mix cocoa powder with buttermilk for a tangy flavor. The red food coloring gives them a bright red color, unlike regular chocolate brownies.
They have a complex taste that balances chocolate and vanilla. This makes them stand out.
How do I achieve the perfect red color in my brownies?
Start with high-quality red food coloring. Add it slowly to your batter. Begin with a little and add more until you get the right red.
Don’t overmix the batter. This can mess up the color and texture. Gel food coloring works best for vibrant colors.
Can I make red velvet brownies without food coloring?
Yes, you can use natural alternatives like beetroot powder or pomegranate juice. But, they might change the flavor and color a bit. They won’t be as bright red as with food coloring.
What’s the secret to getting a fudgy versus cake-like texture?
For fudgy brownies, use more butter and chocolate. Bake them a bit less. For cake-like, add more flour and eggs. Bake until a toothpick has a few moist crumbs.
Try different ratios to find your favorite texture.
How long can I store red velvet brownies?
At room temperature, frosted brownies last 3-4 days. Unfrosted ones can last up to 5-7 days. You can freeze them for up to 3 months.
Always cool them completely before storing. This keeps them moist and prevents sogginess.
Can I add mix-ins to my red velvet brownies?
Yes! You can add white chocolate chips, nuts, or dried fruits. But, don’t overdo it. Too many mix-ins can change the texture. Fold them in gently to keep the brownies red velvet-like.
What’s the best way to frost red velvet brownies?
Use room temperature cream cheese frosting. Let the brownies cool completely before frosting. Spread or pipe the frosting for a nice look.
Chill the frosted brownies briefly to set the frosting. This makes them look professional.

