Table of Contents
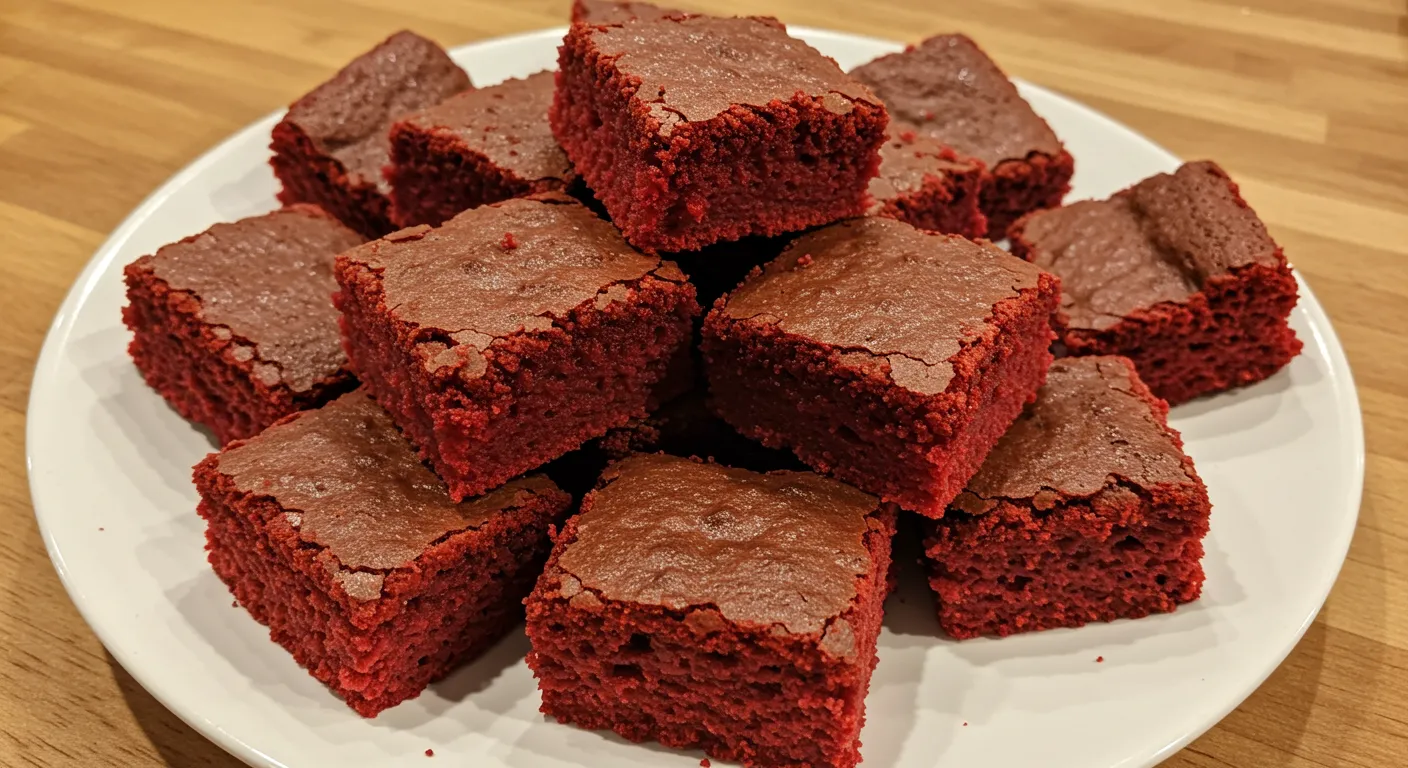
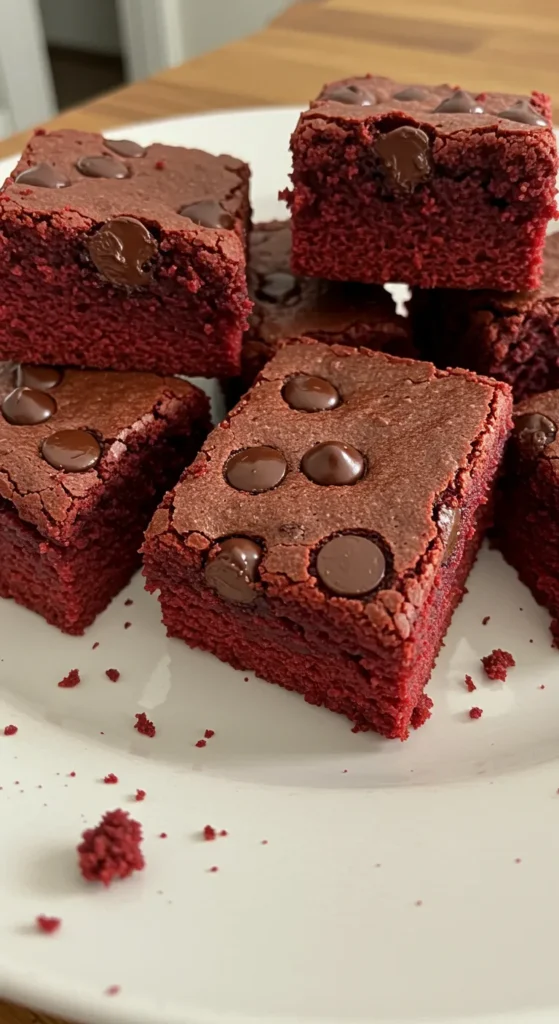
My kitchen is a place of sweet adventures. Making homemade red velvet brownie dippers is special. They’re not just desserts; they’re memories to share.
Red velvet desserts make any moment special. As a baker, I find these treats are more than a recipe. They celebrate flavor, color, and creativity.
I’ll show you how to make the best red velvet brownie dippers. They’ll wow your friends and family. They’re as pretty as they are tasty.
Key Takeaways
- Discover the art of creating restaurant-quality red velvet brownie dippers at home
- Learn techniques for achieving the perfect fudgy texture
- Understand the unique flavor profile of red velvet desserts
- Master the secrets of vibrant red coloration
- Explore versatile serving and presentation options
The Magic Behind Red Velvet Brownie Dippers
Red velvet desserts have won hearts for years. They’ve made chocolate brownie recipes special. Let’s explore why these brownies are loved at festive times.
Origins of Red Velvet Desserts
The story of red velvet starts in the 19th century. It was made with cocoa, buttermilk, and vinegar. These ingredients made it soft and special.
Why Brownie Dippers Are Perfect for Parties
- Easy to handle and share
- Visually stunning presentation
- Convenient bite-sized format
- Versatile for various events
Brownie dippers are fun and perfect for parties. They’re small, tasty, and look great. They’re sure to be a hit at any event.
What Makes These Dippers Special
My recipe makes red velvet brownies extra special. They’re fudgy and full of chocolate flavor. It’s a mix of old and new that’s truly special.
| Characteristic | Details |
|---|---|
| Preparation Time | 45 minutes |
| Servings | 12 portions |
| Storage Duration | Up to 3 days in refrigerator |
Essential Ingredients for Perfect Red Velvet Brownies
Making yummy red velvet brownie dippers starts with picking the right stuff. I love baking and know that good ingredients are key. They make a chocolate brownie recipe special.
Now, let’s look at the main parts that make brownies amazing:
- Flour: 1 1/4 cup (156 grams) of all-purpose flour is the base
- Cocoa Powder: 3 tablespoons (17 grams) for deep chocolate taste
- Butter: 3/4 cup (168 grams) of unsalted butter adds moisture and richness
- Sugar: 1 1/4 cup (250 grams) of granulated sugar for sweetness
- Eggs: 2 large eggs at room temperature for binding
Red velvet brownies get their amazing color from red food coloring (1 tablespoon). A teaspoon of white vinegar adds a tangy taste. It makes the flavor better.
Tip for bakers: Use room temperature ingredients for a smooth batter. Measuring everything right is key for that fudgy texture in your red velvet brownie dippers.
“Great baking is about passion, precision, and quality ingredients” – Baking Enthuasiast
Choosing the Right Baking Equipment
Making tasty easy homemade sweets needs the right tools. For red velvet brownie dippers, the right baking gear makes them perfect. I’ll show you the key tools and tips for these yummy treats.
Required Pans and Tools
You’ll need a few important things:
- 9-inch square baking pan (ideal for even baking)
- Parchment paper for easy removal
- Electric mixer (stand or hand mixer)
- Mixing bowls
- Measuring cups and spoons
- Rubber spatula
- Cooling rack
Optional but Helpful Accessories
These extras can make baking better:
- Silicone baking mat for easy cleanup
- Digital kitchen scale for precise measurements
- Offset spatula for smooth batter spreading
- Brownie cutting guide
Temperature Considerations
Getting the oven temperature right is key. Use an oven thermometer for accuracy. Set it to 350°F and preheat for 15 minutes. This makes the brownie dippers fudgy and moist, just right.
Pro tip: Always check your oven’s calibration to guarantee consistent baking results!
Step-by-Step Mixing Process
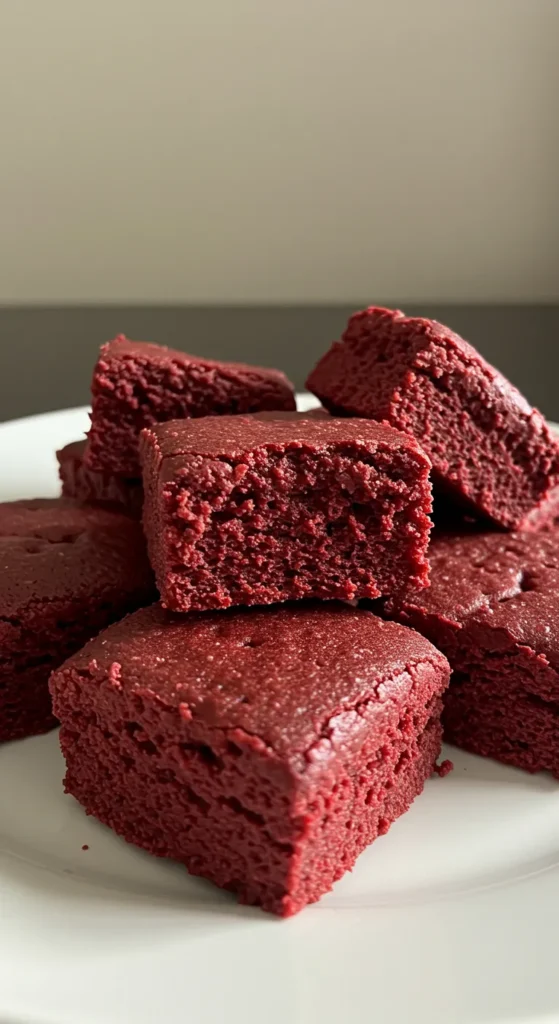
Making yummy red velvet brownie dippers is easy. I’ll show you how to mix them perfectly every time.
First, get all your ingredients ready. You’ll need:
- 1 box red velvet cake mix (15.25 ounces)
- 1/4 cup all-purpose flour
- 1/4 cup unsweetened cocoa powder
- 1 cup vegetable oil
- 4 large eggs
- 1/2 cup semi-sweet chocolate chips
Preheat your oven to 350°F. In a big bowl, mix the red velvet cake mix, flour, and cocoa powder. Sifting these dry ingredients helps prevent lumps and ensures a smooth batter.
Make a well in the dry ingredients. Crack the eggs into it, then add the vegetable oil. Mix gently until just combined. Don’t overmix to keep the brownies soft.
Add the chocolate chips for extra flavor. Pour the mix into a ready baking pan. Spread it evenly for the best taste.
Bake for 18-20 minutes for a fudgy texture. Let the brownies cool before cutting them into fun dippers. They’ll be a hit at your next party.
The Secret to Achieving the Perfect Red Velvet Color
Making the perfect red velvet dessert is an art. It starts with getting the color right. I’ve learned that it’s not just about adding food coloring. It’s about knowing how to mix colors.
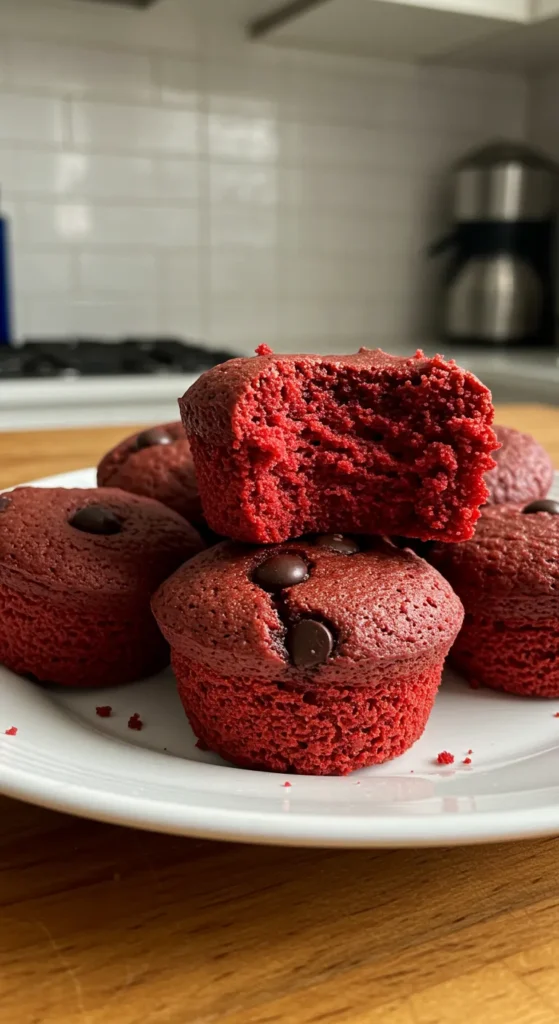
For festive food, the right food coloring is key. Here are some tips for that perfect red velvet look.
Food Coloring Options
Not all food colorings are the same. Here are my top picks:
- Gel Food Coloring: More vibrant and concentrated
- Liquid Food Coloring: Classic but less bright
- Powder Food Coloring: Rich color without extra liquid
Pro Color Mixing Tips
For the best red velvet, follow these tips:
- Start with a little coloring
- Mix well for even color
- Add more color slowly to control shade
Natural Coloring Alternatives
Looking for natural colors? Try these for your brownies:
- Beet powder: Natural red
- Hibiscus powder: Deep crimson
- Pomegranate juice: Subtle red
Pro tip: Use natural colors and adjust liquids for the right brownie texture.
Baking Techniques for Fudgy Texture
Making the perfect chocolate brownie is all about precision and passion. To get those decadent brownies just right, every little thing counts. I’ll share my best tips to make your treats super tasty.
The key to that soft, melt-in-your-mouth feel is in the baking. Here are my top tips:
- Bake at exactly 350°F for 22-25 minutes
- Use a square 8-inch baking tin for the best results
- Check if they’re done with the toothpick method
- Take them out when moist crumbs stick to the toothpick
Where you put the oven can really change your brownies. I say put the pan in the middle rack. This way, the heat spreads evenly. You get a crispy outside and a soft inside.
“Perfect brownies are an art form – precise but passionate” – Baking Enthuasiast
When mixing, be gentle. Too much mixing makes brownies tough and dry. Just mix until everything is just combined. This keeps them light and soft.
Pro tip: Let your brownies cool all the way before cutting. This lets them set properly. You’ll get clean, pretty slices that show off your baking skills.
Creating the Ultimate Cheesecake Dip
Every batch of homemade red velvet brownie dippers needs a special friend. A creamy, dreamy cheesecake dip makes these snacks irresistible. Let’s make the perfect dip for your easy homemade sweets.
Cream Cheese Selection Secrets
Choosing the right cream cheese is key for a smooth dip. Use full-fat cream cheese at room temperature for the best texture. Philadelphia brand is great, but any high-quality cream cheese works.
- Choose full-fat cream cheese
- Ensure cream cheese is room temperature
- Avoid low-fat or reduced-fat alternatives
Crafting the Perfect Consistency
The secret to a great cheesecake dip is its texture. Whip the cream cheese until it’s smooth. Then, add powdered sugar and vanilla extract slowly. A bit of heavy cream makes it light and airy.
| Ingredient | Quantity | Purpose |
|---|---|---|
| Cream Cheese | 8 oz | Base of the dip |
| Powdered Sugar | ½ cup | Sweetness and smoothness |
| Vanilla Extract | ½ teaspoon | Flavor enhancement |
| Heavy Cream | ¼ cup | Achieving perfect consistency |
Pro tip: Add mini chocolate chips or cocoa powder for extra flavor. Your guests will love these homemade red velvet brownie dippers and their cheesecake dip!
How to Cut and Shape Your Homemade Red Velvet Brownie Dippers
Creating perfect homemade red velvet brownie dippers needs skill. I’ll share tips for cutting and shaping these treats. They will make your festive food stand out at any party.
Before you cut your red velvet brownies, do a key prep step: freeze the brownies for 15-20 minutes. This trick makes clean, professional cuts that wow your guests.
- Use a sharp chef’s knife for precise cutting
- Wipe the knife clean between each slice to maintain neat edges
- Cut brownies into uniform 1 1/2 inch diameter circles using a cookie cutter
- Aim for consistent shapes to ensure even dipping
When making these homemade red velvet brownie dippers, use these pro cutting tips:
- Ensure brownies are completely cooled before cutting
- Line your cutting surface with parchment paper
- Apply gentle, steady pressure when cutting
- Remove brownie circles carefully to maintain their shape
“Perfect presentation is the secret ingredient that transforms good desserts into memorable experiences.”
For party snacks that truly shine, take your time with the cutting process. Your attention to detail will create festive food that looks as amazing as it tastes!
Storage and Serving Suggestions
After making your homemade red velvet brownie dippers, it’s important to store them right. Keep uniced brownies at room temperature for up to 2 days. If you’ve added cream cheese frosting, store them in the fridge to keep it fresh.
For a party, cut the brownies into small pieces. Use a sharp knife and clean it between cuts. A heart-shaped cookie cutter makes them special for romantic or themed parties.
Want to keep your brownie dippers longer? Freeze them for up to 3 months. Wrap them tightly in plastic wrap and put them in an airtight container. When you’re ready, thaw them at room temperature for about an hour. The cream cheese frosting stays good, so your treats will taste great.
Presentation is key! Use a piping bag for fancy frosting designs or serve on a pretty platter. These red velvet brownie dippers are perfect for any party, big or small.
FAQ
What makes red velvet brownies different from regular brownies?
Red velvet brownies have a special taste. They mix cocoa, buttermilk, and a bit of vinegar. This makes them red and tangy, unlike regular brownies.
Can I make these brownie dippers gluten-free?
Yes, you can! Use gluten-free flour instead of regular flour. Choose a 1:1 baking flour with xanthan gum. Make sure all your ingredients are gluten-free too.
How long do red velvet brownie dippers stay fresh?
They stay fresh for 3-4 days in an airtight container. You can refrigerate them for a week or freeze for a month. Let them warm up before eating.
What’s the best way to achieve the perfect red color?
Use high-quality gel food coloring for bright red. Start with a little and add more until it’s the right shade. Beet powder is a natural option too.
Can I make the cheesecake dip in advance?
Yes! Make it up to 2 days before. Store it in the fridge. Stir it well before serving to keep it smooth.
Are these brownie dippers good for parties?
They’re perfect for parties! They’re easy to eat and look great. They’re fun for any party, big or small.
Can I use natural food coloring instead of artificial coloring?
Yes, beet powder or juice works well. Natural colors might not be as bright. They might also change the taste a bit.
What’s the secret to getting a fudgy texture?
Don’t overbake them. Take them out when a toothpick has a few moist crumbs. Let them cool in the pan for a moist texture.

