Table of Contents
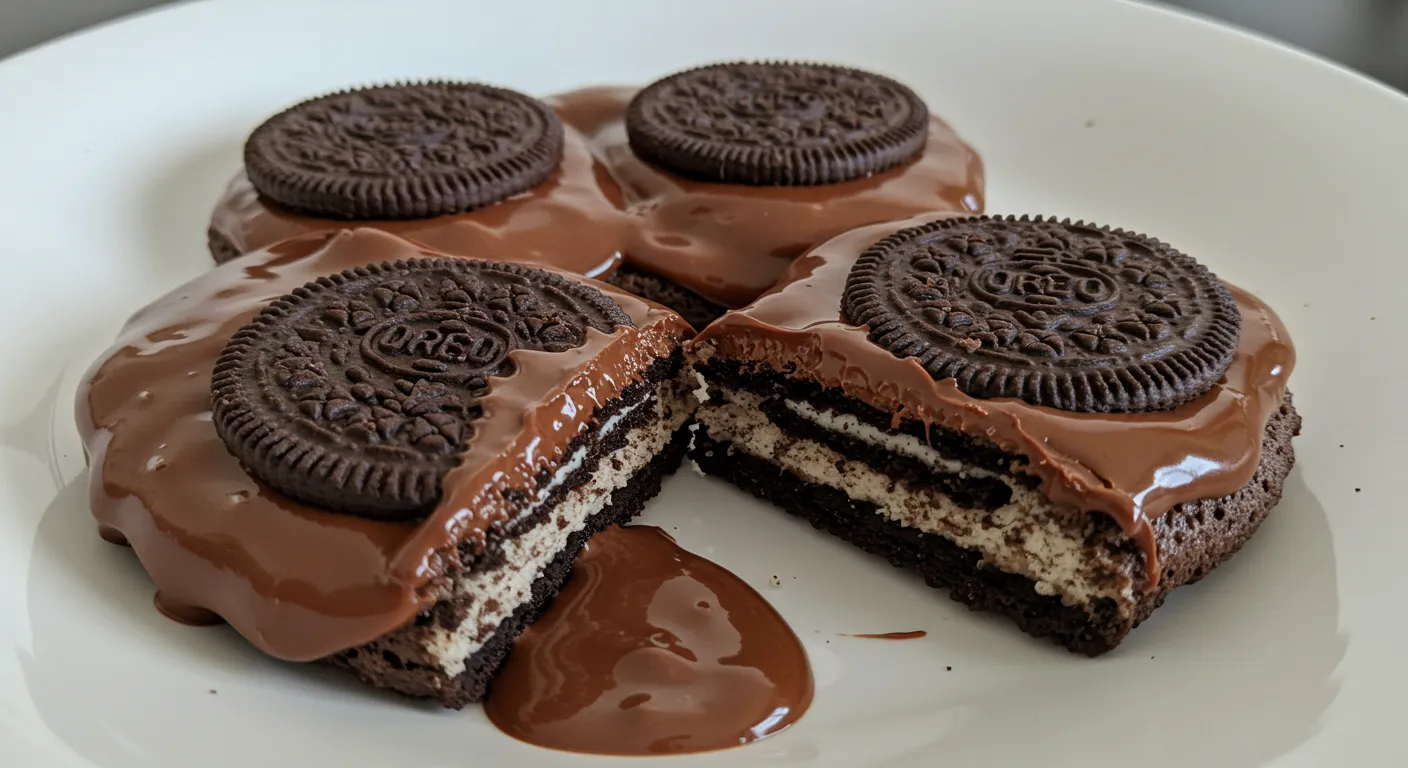
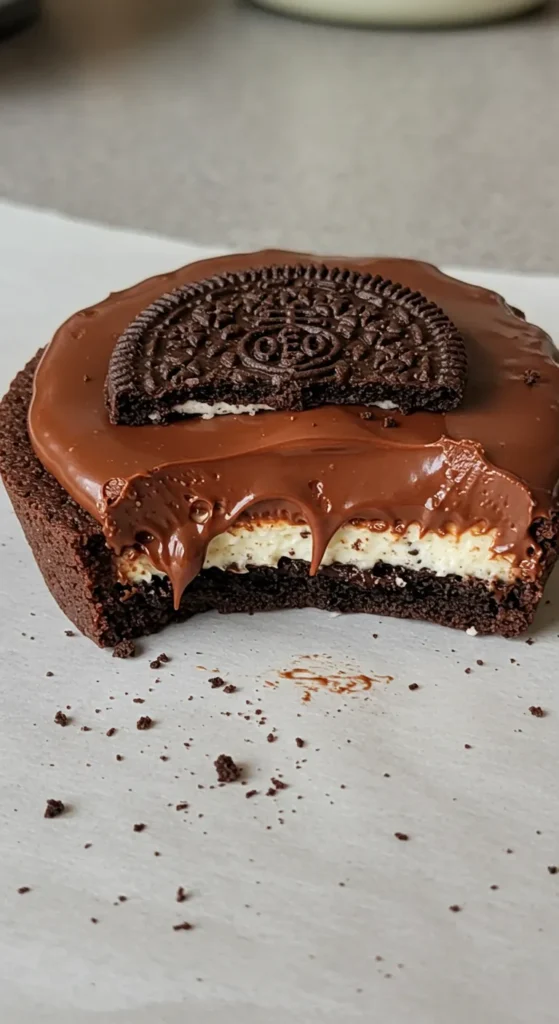
Desserts were special in my family. They brought joy and made us closer. This easy chocolate Oreo delight is my favorite no-bake dessert. It makes everyone happy.
This dessert is a dream for chocolate lovers. It’s made with simple ingredients but tastes amazing. You can make it in just 30 minutes.
Key Takeaways
- No-bake dessert perfect for any occasion
- Quick 30-minute preparation time
- Serves 12 people generously
- Rated 4.7 out of 5 by dessert lovers
- Kid-friendly and adult-approved recipe
Why This Easy Chocolate Oreo Delight Will Become Your Go-To Dessert
Finding the perfect dessert is hard. My family loves the Chocolate Oreo Delight. It’s quick and always makes everyone happy.
A Family Favorite Through Generations
This dessert was special in our family. It was for big moments and small ones. Everyone looked forward to it.
- Takes only 25 minutes to prepare
- Total time including chilling: 6 hours and 25 minutes
- Yields 9 delicious servings
Perfect for Any Occasion
This dessert is great for any event. It’s perfect for family dinners or big parties. Its beauty and taste are perfect for any time.
“A dessert that brings families together is worth its weight in gold.” – Family Cooking Wisdom
No Baking Required
The best thing is, you don’t need to bake it. It’s perfect for hot days or when you don’t want to bake. Just layer, chill, and serve!
With a few ingredients and little prep, you’ll make a family favorite. The creamy layers, crunchy base, and chocolate make it a hit.
Essential Ingredients for Your Oreo Delight
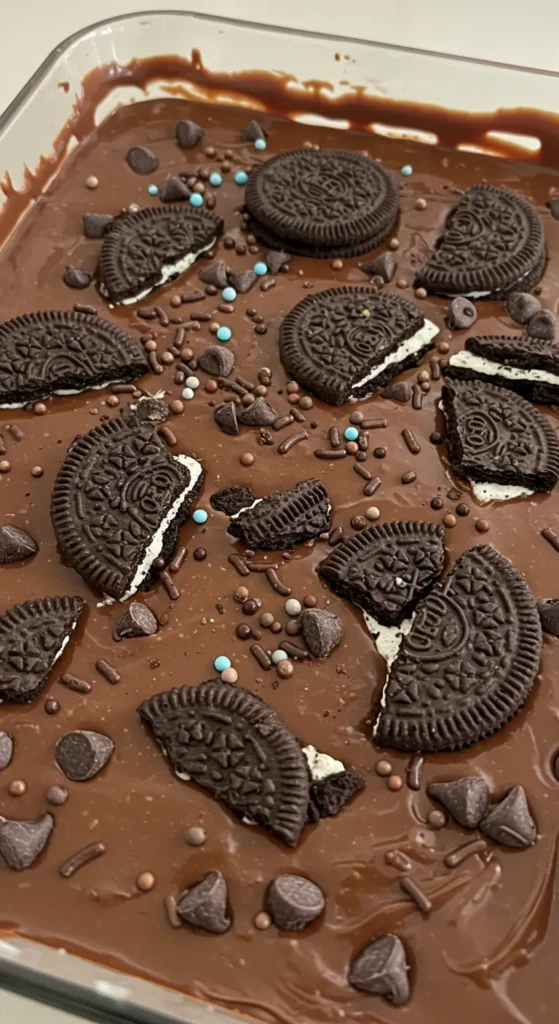
To make the perfect Oreo Delight, you need special ingredients. They mix together to make a yummy dessert. Let’s look at what you need to make this treat.
Cookie and Base Components
The base of our Oreo Delight is a classic oreo cookie crust. You will need:
- 1 package (14.3 ounces) of Oreo cookies
- 6 tablespoons of melted unsalted butter
Creamy Filling Ingredients
For the creamy chocolate filling, you’ll need these things:
- 1 package (8 ounces) cream cheese, softened
- 1 1/4 cups confectioners’ sugar
- 2 tubs (8 ounces each) frozen whipped topping, thawed
- 2 boxes (3.9 ounces) instant chocolate pudding mix
- 3 cups milk
Topping Elements
To finish your Oreo Delight, save some crushed Oreo cookies. They make the dessert crunchy and look great.
Pro tip: Make sure all ingredients are at room temperature. This helps make the creamy chocolate filling smooth.
Kitchen Tools You’ll Need
To make the perfect Oreo delight, you need some key tools. These tools will help make your dessert prep smooth and fun. Let’s look at the important equipment you’ll need before starting this tasty recipe.
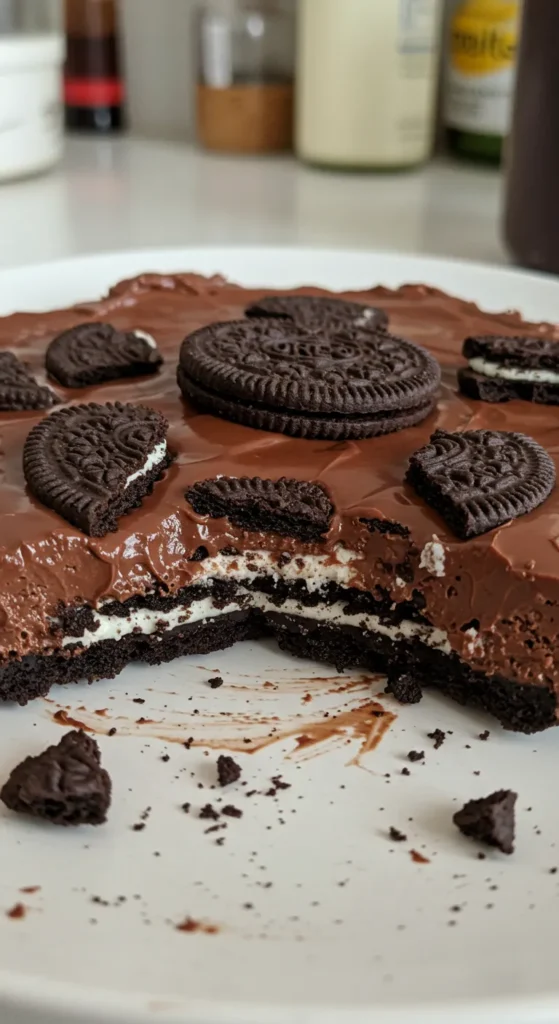
- 9×13-inch baking dish – The perfect size for layering your dessert
- Food processor or alternative crushing tool
- Large mixing bowls
- Electric mixer
- Rubber spatula
- Plastic wrap
Now, let’s talk about why each tool is important for your Oreo delight. A food processor is great for crushing 30 Oreo cookies into fine crumbs. But, if you don’t have one, a rolling pin and plastic bag can work well too.
| Tool | Purpose | Alternative |
|---|---|---|
| Food Processor | Crush Oreo cookies | Rolling pin + plastic bag |
| Electric Mixer | Blend cream cheese layer | Whisk + strong arm |
| 9×13-inch Dish | Layering dessert | Similar sized pan |
Pro tip: Have all your tools ready before you start. This makes making this delicious treat easy and fun!
How to Create the Perfect Oreo Cookie Base
Making the perfect oreo cookie crust is key for a dessert that will impress everyone. I’ll show you how to make a tasty and strong base for your dessert.
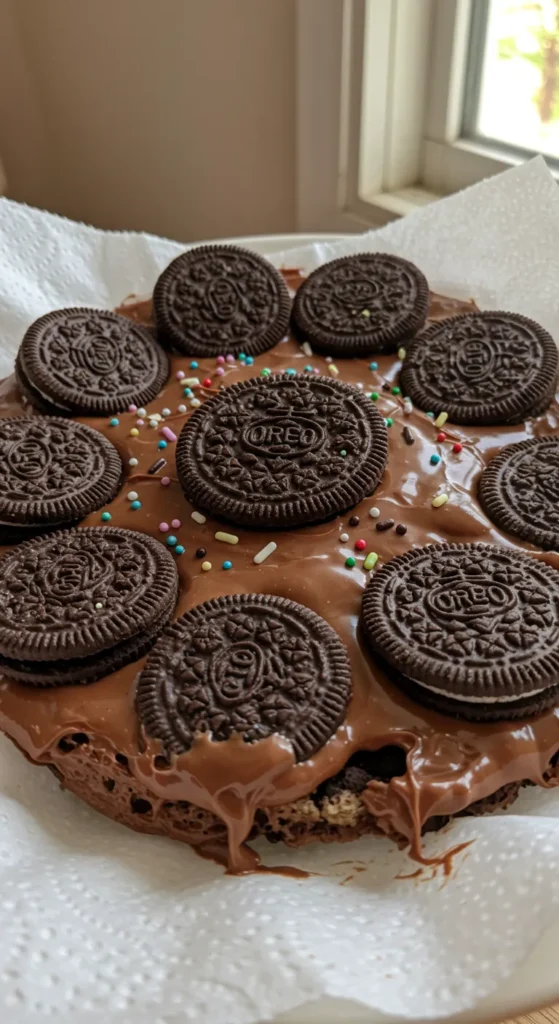
The secret to a great oreo cookie crust is in how you crush and mix the cookies. I suggest using two main ways to break down your Oreo cookies:
- Food Processor Method: Quick and uniform crushing
- Manual Crushing: Hands-on approach using a rolling pin
Crushing Techniques for Oreos
For the best results, use a food processor. Put all the Oreo cookies (about 15.35 ounces) in the processor. Pulse until they’re fine crumbs. If you don’t have a food processor, crush the cookies in a bag with a rolling pin or meat mallet.
Mixing with Butter
Melted butter is key to making your crust stick together. You’ll need about ½ cup of unsalted butter. Mix the butter well with the cookie crumbs until they’re just right. Remember, save one cup of crumbs for garnishing later.
Proper Base Formation
Press the buttery Oreo crumb mix into a 9×13-inch pan. Use a measuring cup or your hands to make it even and compact. Chill it for 15-20 minutes to set before adding more layers.
Tip: For the most stable crust, press the crumbs down firmly and evenly across the entire pan surface.
Your Oreo cookie base is now ready to hold the delicious layers of your dessert!
Making the Creamy Cream Cheese Layer
Making the perfect creamy chocolate filling is key. I’ll show you how to make a smooth cream cheese layer. This will make your Oreo dessert even better.
First, make sure your cream cheese is room temperature. This makes the mix smooth and lump-free. You’ll need:
- 8 ounces of cream cheese
- 1 cup of powdered sugar
- 8 ounces of whipped topping
Use an electric mixer to beat the cream cheese until it’s very smooth. Slowly add the powdered sugar while mixing on medium speed. This makes the mix light and velvety.
After mixing the cream cheese and sugar well, gently add the whipped topping. Use a spatula carefully. This keeps the mix light and airy, perfect for the Oreo crust.
Spread the mix over your Oreo base. Use a spatula to make it smooth and even. This creamy layer makes your dessert a hit with everyone.
Pro tip: For the smoothest layer, use a gentle touch and take your time spreading the mixture.
Nutrition insights for this layer:
- Calories: 357 kcal per serving
- Total fat: 18g
- Protein: 5g
- Carbohydrates: 45g
Preparing the Chocolate Pudding Layer
Making the chocolate pudding layer is key to this dreamy dessert. It turns simple stuff into a rich treat that makes your taste buds happy.
I’ll show you how to mix the chocolate pudding right. This makes a smooth, yummy layer that makes the whole dessert better. It’s all about being careful and patient.
Mixing Tips for Smooth Pudding
- Use cold milk straight from the fridge
- Choose 2% milk for the richest taste
- Measure exactly 3 cups of cold milk
- Use two 3.9-ounce packages of chocolate instant pudding mix
Achieving the Right Consistency
When making your pudding, whisk hard for 2 minutes. This makes it creamy and smooth. You want it thick but not too thick.
Pro tip: Beat the pudding until it’s thick but not set. This makes it easy to spread over the cream cheese layer without messing up the layers.
The secret to a perfect chocolate pudding layer is all in the technique!
Your chocolate pudding layer will make this dessert irresistible. It looks like it came from a pro bakery. With a few easy steps, you’ll wow your family and friends.
Easy Chocolate Oreo Delight Assembly Guide
Making this no-bake dessert is fun. It turns simple things into a tasty treat. Follow my steps to make this dessert that everyone loves.
- Spread the Oreo cookie base in a 13×9 inch pan
- Layer the cream cheese mixture smoothly
- Pour the chocolate pudding layer gently
- Top with Cool Whip for a creamy finish
Here are some tips for your no-bake dessert:
- Use a spatula for even layer spreading
- Chill between layers if you can
- Sprinkle crushed Oreo cookies on top for texture
Chilling is very important. Refrigerate for at least 6 hours. This lets the layers set and flavors mix well.
| Layer | Key Ingredients | Approximate Quantity |
|---|---|---|
| Base | Oreo Cookies | 32 cookies |
| Cream Cheese Layer | Cream Cheese | 8 ounces |
| Pudding Layer | Chocolate Pudding Mix | 2 (3 oz) packages |
| Topping | Cool Whip | 8 ounces |
After the final layer, sprinkle Oreo crumbs on top. Your dessert is ready to serve after 2 hours of chilling. It’s great for making ahead.
Tips for Perfect Layers Every Time
Creating a flawless chilled sweet treat needs precision and careful technique. My easy entertaining dessert will impress your guests when you learn these layer secrets.
Getting perfect layers in your Oreo dessert is not just about ingredients. It’s also about technique. Here are some pro tips to make your dessert amazing.
Temperature Matters
Temperature is key for smooth, seamless layers. Here are my top tips:
- Use room temperature cream cheese to avoid lumps
- Make sure Cool Whip is a bit soft but not too melted
- Freeze the Oreo crust for 15-20 minutes before adding filling
Spreading Like a Pro
Spreading layers needs a gentle touch and the right tools. I suggest:
- Use an offset spatula for even spreading
- Spread layers lightly
- Clean your spatula between layers to avoid mixing
“The secret to a perfect dessert is in the details of layer preparation.” – Pastry Chef Wisdom
Follow these tips to make a stunning dessert that looks as good as it tastes. Your friends and family will be amazed by your layering skills!
Storage and Make-Ahead Instructions
I love this crowd-pleasing dessert and know how to store it well. You can keep it in the fridge for up to 4 days in a sealed container. It’s great for hosts who are busy.
Freezing is also a good choice. Wrap it well with plastic and foil for up to 3 months. Then, thaw it in the fridge overnight. It’s ready when you need it.
For the best look and taste, sprinkle crushed Oreos just before serving. It makes the dessert fresh and adds a chocolate crunch. This dessert is perfect for any gathering or a quick treat.
FAQ
How long does Easy Chocolate Oreo Delight last in the refrigerator?
You can keep this dessert in the fridge for 5-7 days. Just cover it with plastic wrap. Keep it cold and away from smells to keep it fresh.
Can I use low-fat ingredients in this recipe?
Yes, you can! Low-fat cream cheese and whipped topping work too. They might make it less creamy, but it’s yummy.
Is this dessert suitable for making ahead of time?
It’s great for making ahead! Prepare it 1-2 days before. It tastes even better after sitting in the fridge.
Can I freeze Easy Chocolate Oreo Delight?
Yes, you can freeze it for 2-3 months. Wrap it in plastic and foil. Thaw it in the fridge and top with fresh Oreos for a nice crunch.
What can I do if I don’t have a food processor to crush Oreos?
No problem! Put Oreos in a plastic bag and crush them with a rolling pin or heavy skillet. It’s a fun way to prepare your dessert.
Are there any variations I can try with this recipe?
Yes! Try different Oreo flavors, use vanilla pudding, or add chocolate chips or caramel. You can also mix different chocolate puddings for a unique taste.
Is this dessert gluten-free?
No, traditional Oreos and this recipe are not gluten-free. But, you can make a gluten-free version with gluten-free cookies and gluten-free ingredients.
How many servings does this recipe make?
It makes 12-15 servings, perfect for gatherings or parties. For smaller portions, you might get 20 servings.

